|
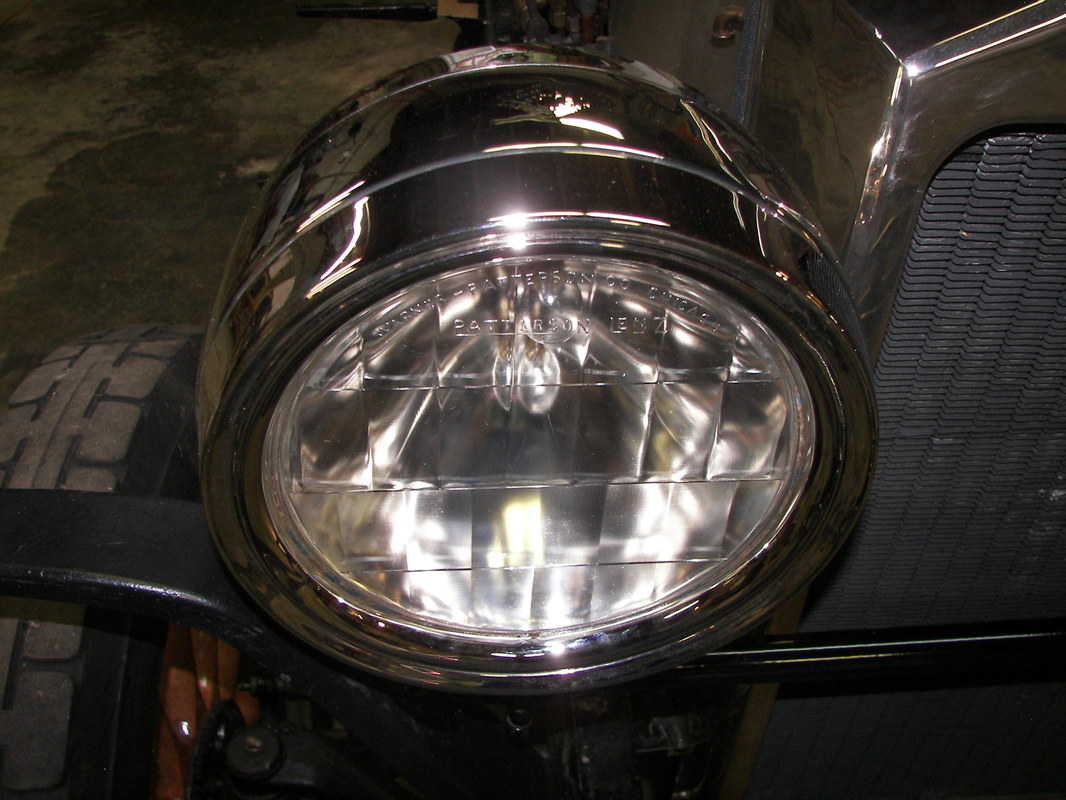
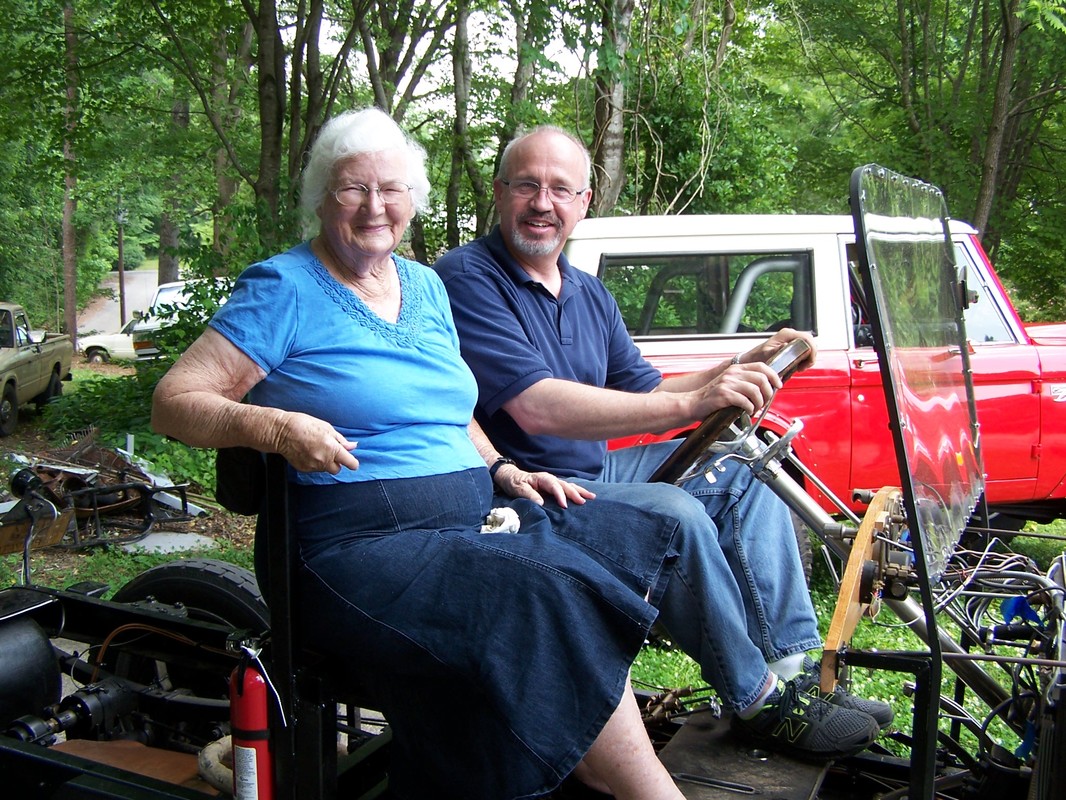
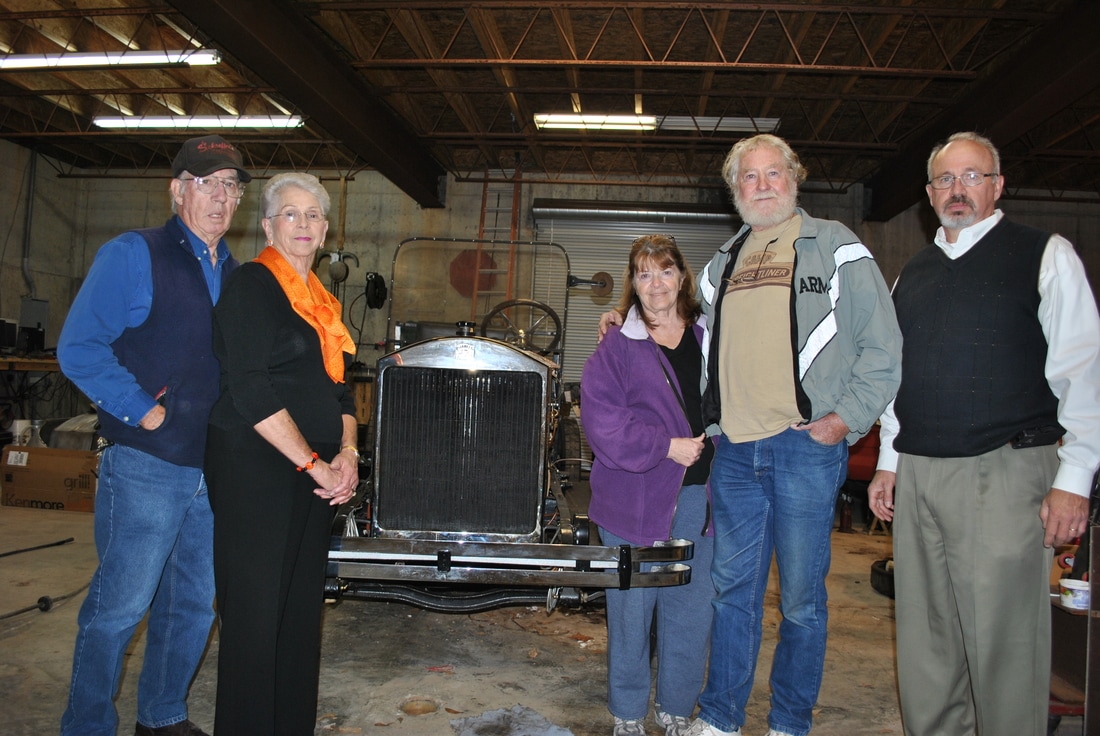
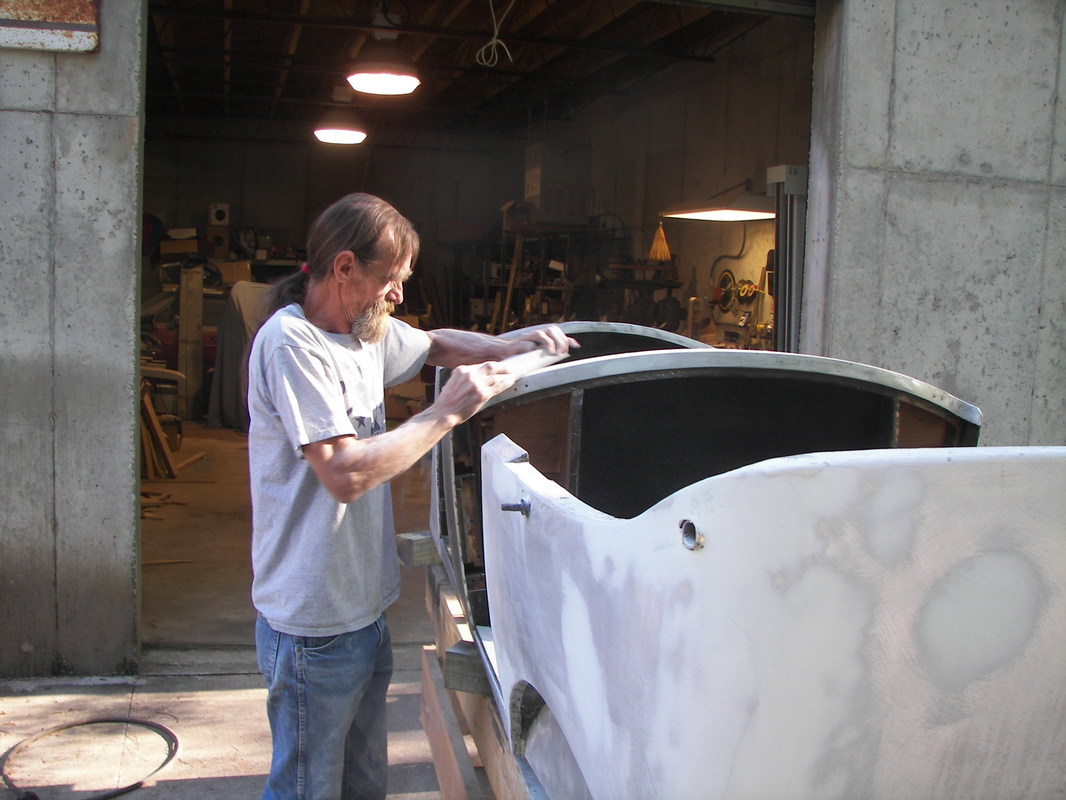
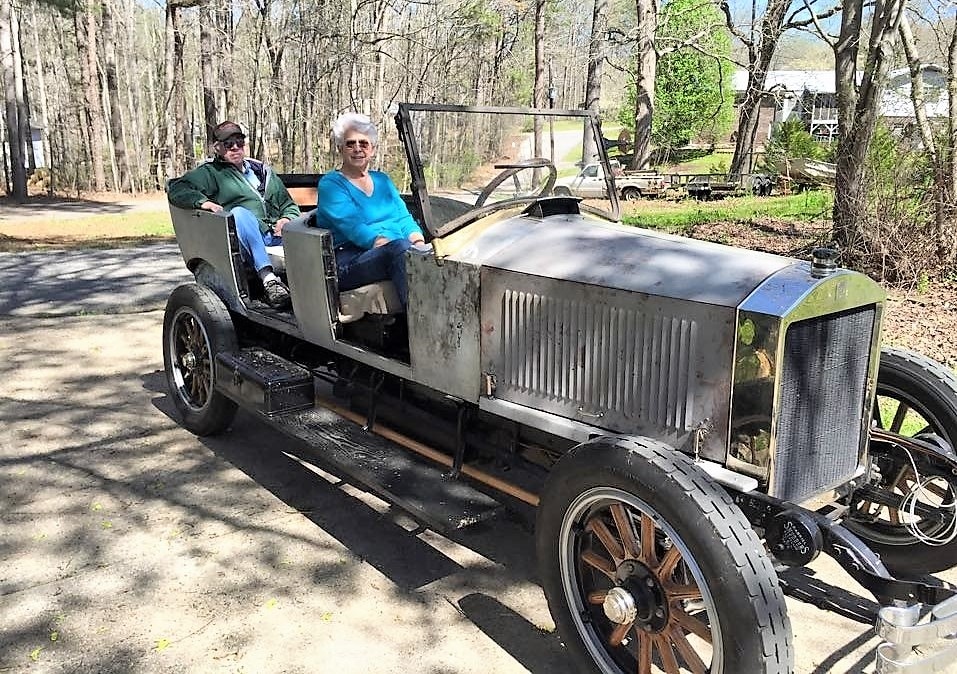
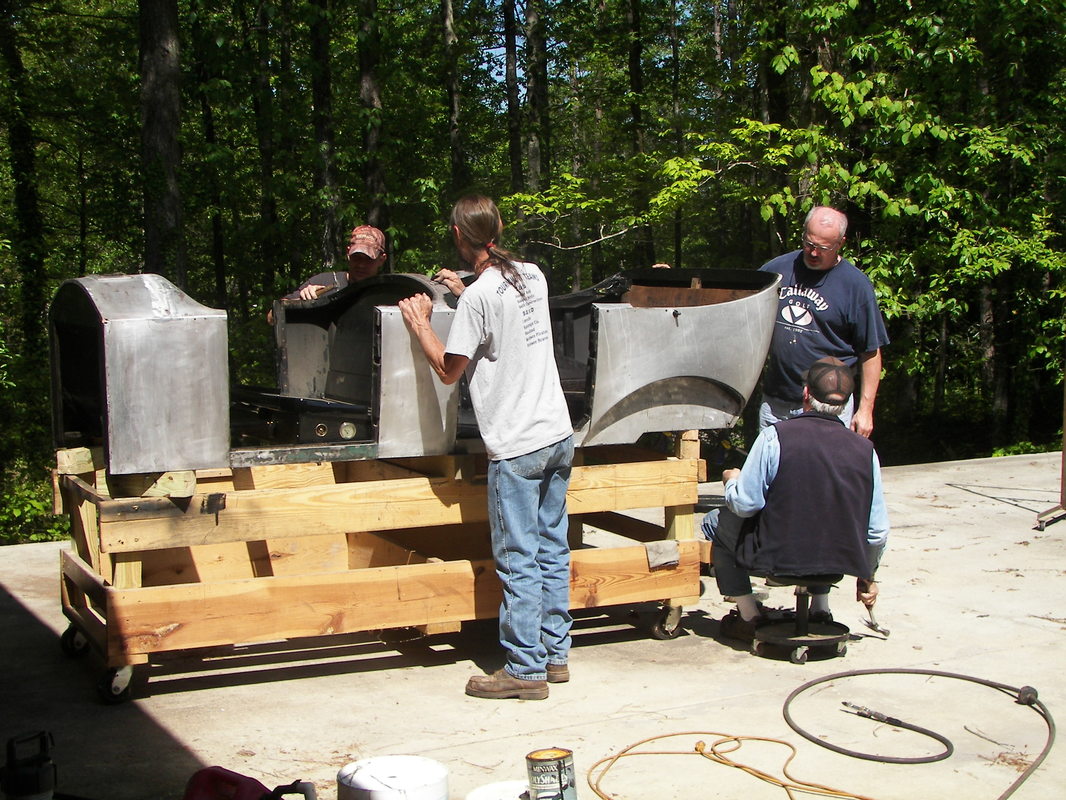
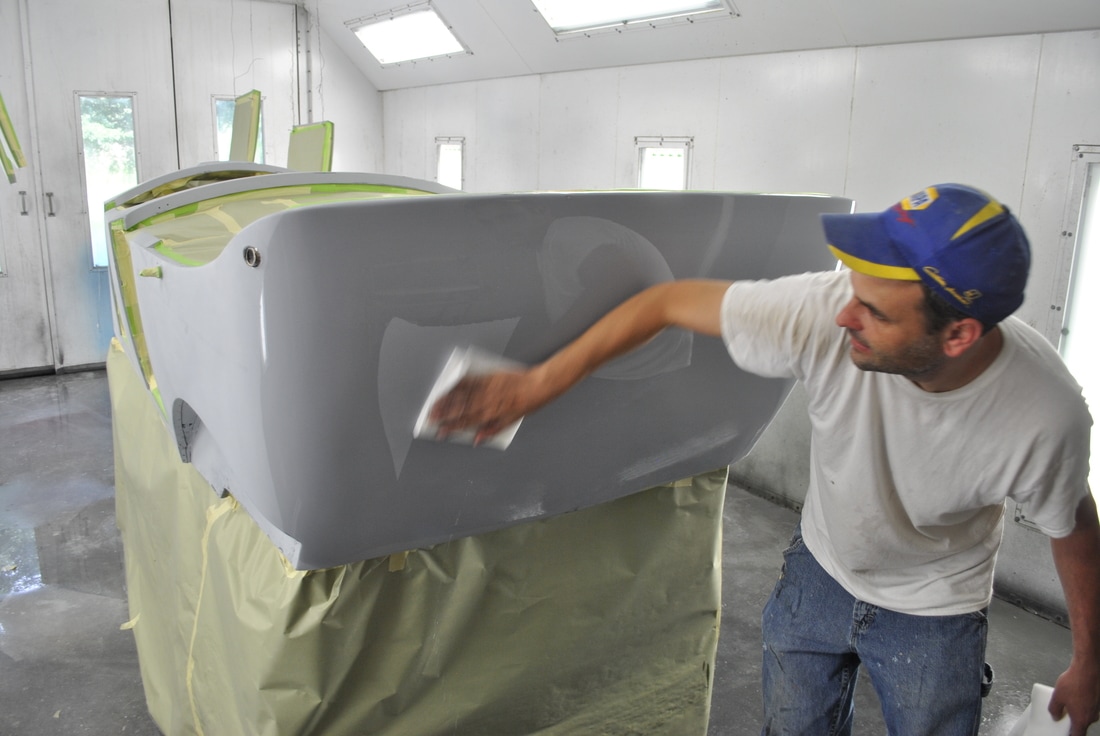
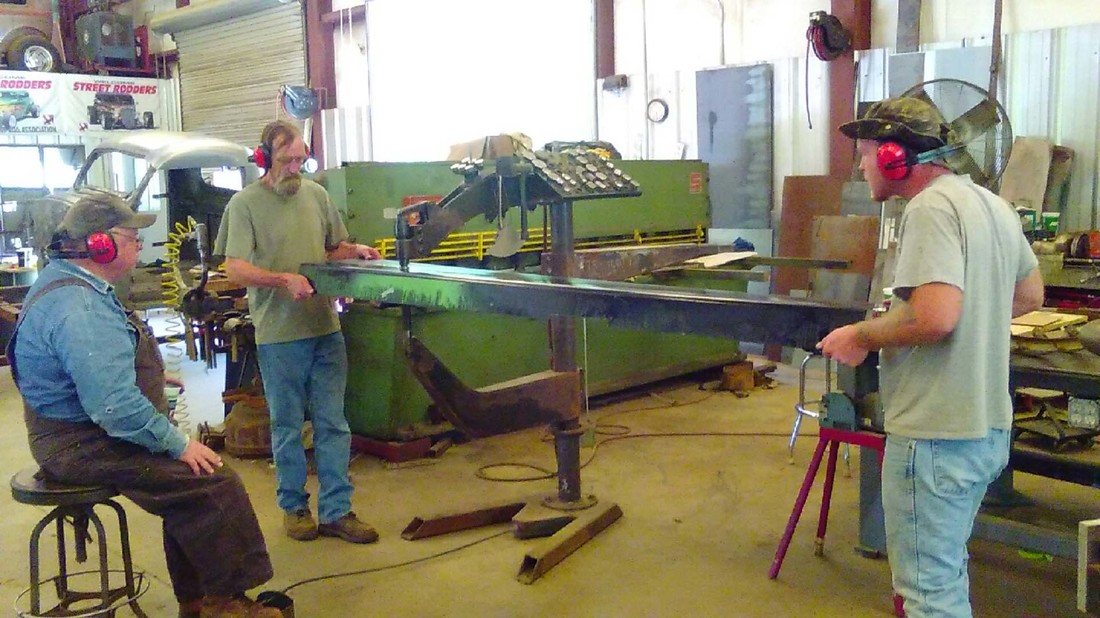
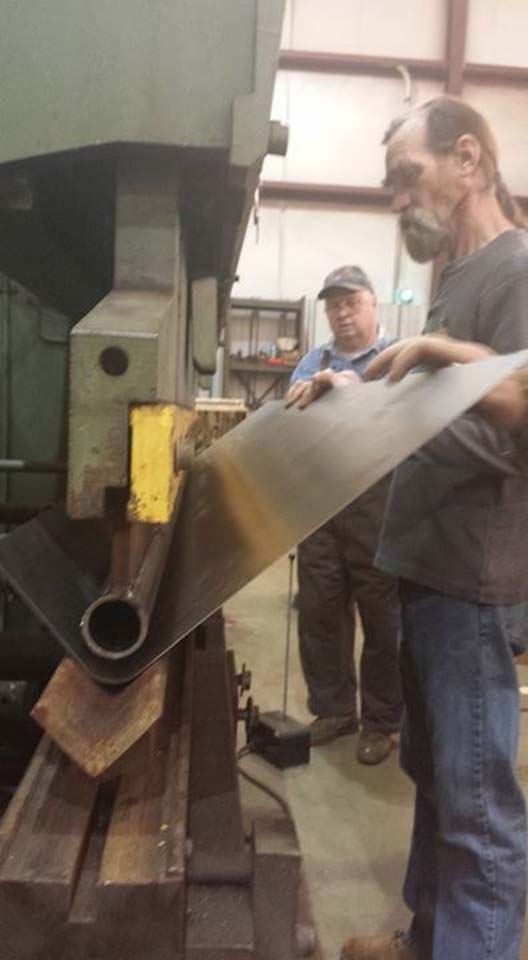
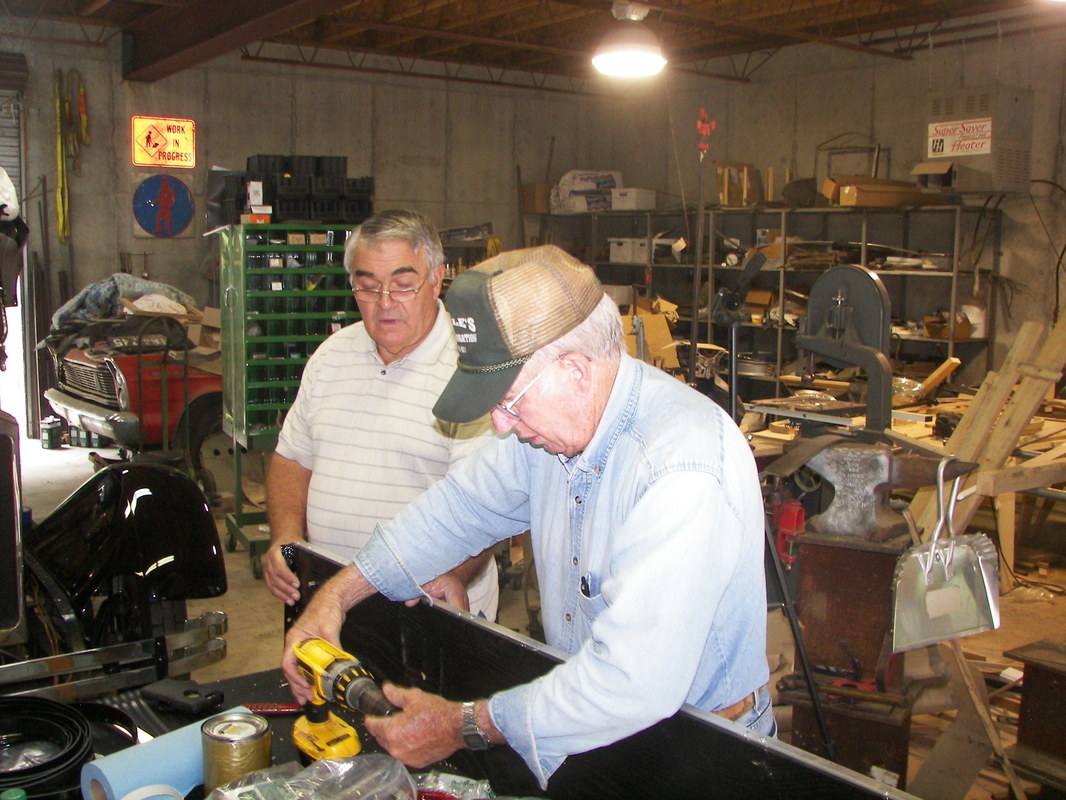
The following article is Part Three of Steve Bragg’s story of his family’s restoration of their 1922 Model 740B Stanley Steam car. The wooden frame of the body was finally completed after almost one year of work. It was then time to mount the body to the now restored chassis for final inspection. This gave us the opportunity to make sure all our work was completed correctly and to do any final adjustments. It was very satisfying that the body fitted correctly after all of the wood replacement and repairs. This was a significant point in the restoration; I think for the first time we could really see the end point of the project. This was very satisfying after, at that time, almost 6 years of work. Now that we were satisfied that the wood framework of the body fitted the chassis, we then re-skinned the frame with the original aluminium “skins”, which we had also cleaned and repaired. There were a few spots that required some welding, we used a MIG wire system that enabled us to properly repair and then grind back down and shape the skin being careful not to “heat work” the thin aluminium. The aluminium sections of body were in pretty good shape when removed with only a few square inches of repair. Most of the minor dents were removed using a wooden and leather “slapping” stick. When done, we turned to the doors and again completely restored them to the same standard. We did not have to remove the skins but completely dissembled the doors except for the skins and wood frames. The latches were removed, cleaned and preserved and then re-assembled with the door. The Bakelite handles were cleaned and replated with nickel, then being re-attached to the door with metal locks, made on our lathe, in the same manner as the originals. The latches were made by the English & Mersick Co. New Haven, Connecticut Manufacturers of Automobile Hardware, Specialties, Mountings, Etc. With the body completed, we turned to the fenders and splash aprons for the next piece of the puzzle. The driver fender and splash apron were severely damaged, part of the splash apron was missing and the front fender was wrinkled and split in several pieces. We were convinced that it would have to be fabricated but we were able to resurrect it. It required cutting it into several pieces, shrinking sections of it, and also the creation of a support jig so we could use the good fender to mirror the one being repaired. Pretty good results on the two. Tony “Tinman” Inman did some outstanding work on the fenders and the two splash aprons. The complex curves of the aprons required some great hand work but the results are very pleasing. A new pilot door was also required to be made. Once the body, fenders, and splash aprons were all fitted correctly, it was time to take everything apart, remove the body and get it finally prepped for paint. Again, this took a lot of time and effort to make sure the final product was the way we wanted it. One of the pieces of metal trim was in poor shape. This was the trim around the hood. It is a simple aluminium piece with a rolled edge detail. This proved to be impossible to find so I set out to make it. First we had to make a die for a bead roller to match the original trim. Once this was made and matching to the original, then it became fairly simple. Rolling the proper width took some trial and error but proved to be simple enough. Now with the fitted trim and hood lace, the assembled hood could finally be installed. The original windows (both wooden and side curtains) were with the car but were good only for patterns. The canvas and leather had shrunk to the point of not even fitting all of the snaps. The side curtains even have labels to show which position to install them. The eisenglass was well beyond yellow and brittle but again serves as good patterns. The wood windows could not be repaired, although we did salvage all of the hardware and saved many parts, including the two brass plates from the G. A. Schmidt Company (from Chicago – the address and telephone number is imprinted onto the plates) who made them. This makes a nice detail in the restoration of the windows (this is not yet completed). We have made new wooden frames and in progress of making a full set of new side curtains along with a storage bag to match the originals. I think that will be a project for next winter! There are shows and tours to try to get in this coming summer. The paint colour was selected after a great deal of research into the available paint colours from the 1920s. While the original green and black was acceptable, the car seemed to beg for more. We finally settled on the colours after narrowing down to three on some test panels. The black fenders and Washington Blue body was sprayed by Jonathan Embry who did some excellent work. The base and clear coat was applied over epoxy primer after many hours of blocking and sanding to get the aluminium skin almost perfect. We considered reds, blues and the original green but ultimately the dark blue and black just suits the Stanley perfectly. We briefly considered painting her in the same manner as original but decided the work was not worth the reward – the car had been brush painted with varnish and hand rubbed. I really can’t imagine how hard that task must have been: Automakers started painting cars around 1900, and it could take up to 40 days to apply a paint job. These early cars were brushed with varnish, which came from the era of horse-drawn carriages. After the varnish dried, the car was sanded, refinished and polished. By the time this car was made in 1922, the car painting process began to speed up. Automakers like Henry Ford began using nitrocellulose lacquer, which had a quicker drying time, on assembly lines. Then, in 1924, paint spray guns made their way onto the assembly lines as well. The spray gun made it possible for workers to paint cars more quickly, and also apply the finish in a more consistent manner. As a result, cars didn’t need as much sanding between coats, and a car could be painted from start to finish in a third of the time that it used to take, so while it was at least 2 years out of time, we decided that spraying was ultimately the way for us to go. The paint work has turned out very well. A great deal of time and care has been taken on the paint work preparation and finish, but as can be seen it was worth the effort. The colour is Washington Blue, I found several references to this colour from 1920s paint literature and chose this deep rich blue to show off the Stanley. Every part of the car was stripped down to either bare wood or metal. Epoxy primer over the bare aluminium was needed for proper paint adherence, and sealer, stain and polyurethane was used for the wood. Electrical System The electrical system was intact except for the missing generator and the incorrect headlights. The Solar 1130 headlights were missing along with the light bar. I assume it was destroyed in the wreck. Also missing (later found in a door pocket, was one of the light switches. This car had a three gang light switch assembly on the dash. All of the interior lights were present, two dash lights, one under dash light and the pump pit light. The pilot light was missing. We did discover that the car had been assembled with the electrically heated pilot so that was a must to restore it. Imagine directly shorting the battery through the pilot to heat it up before assembly. No wonder the battery would have to be charged after starting – the Owner’s manual states to drive the car for 20 miles or so after starting to properly charge the battery. The wiring for the car was intact except for the proper headlight wiring so it was decided to test the wiring after inspection. I never made it to testing, during inspection, I found that the wiring had to be completely replaced due to missing insulation, splices and overall condition. I found the proper wire, complete with wrapped metal sheaths like the original. I also replaced the metal armour and all of the connections with the proper brass terminals. Next I wanted to ensure I had plenty of fused portion, so I did add an additional correct style fuse block. With the re-installation of the new wiring harness, the car’s electrical system was almost completed. It took some time to find a correct generator but felt it best to stay with the 6-volt system per the original. I finally located the correct one and it was a fresh rebuild. However, one cannot just find a wet cell 4” X 9” 6-volt horizontal battery so I went with a modern 6 volt AGC battery that can be mounted on its side – it fits the battery box perfectly. I also have added a disconnect to allow the battery to be isolated during shutdown periods just as a safety measure. I did manage to acquire a new John Packard pilot that I modified to accept the electrical connections. This meant that I could test the pilot heater switch – this arrangement worked great – with the high capacity of the AGC battery, it quickly heated the pilot and after only 20 seconds or so, the pilot lit without problems. I have yet to finalize the configuration on the car so, for now, it is a torch to preheat the pilot. I did find a couple of the correct headlights (from Honest Don’s Steam Car Emporium), along with the Patterson Lenz – this is an interesting lens in that it is thicker at the bottom thus weighted, to keep it from vibrating and turning. It is important to keep the proper alignment of the light beam. It also took about three years of on and off again research – the three gang light switch was made by Cutler Hammer (the same one as in business today). From everything I could find, the switches last went out of production sometime around 1911. So of course Stanley used them until they had no more. After months of painstaking research, I found 5 switches, new old stock, in a warehouse in Colorado, some complete with new bezels. Needless to say, when the gentleman told me the price, I bought them all. He also had a few two gang and single gang switches, the single gang have removable pull handles that function as a key. (Yes I have them all). With the electrical system reassembled and fully functioning, it was time to install the painted body. TOP BOWS After the body was installed, the final assembly has been worked on over the summer and is nearly completed. Quite a while (about 4-5 months) was spent measuring, designing and constructing the top and top bows. Out of the original top bows, only one was intact. The rest had collapsed, broken or otherwise rotted beyond use other than patterns. The rear bow was in at least three pieces, and the side rails were missing except for an 18” piece on each side. I was able to use the remaining pieces to figure out the length, width and shape of the bows. From this, I constructed forms from plywood and built a wood steamer from a section of 6” pipe and an old pressure canner for the steam generator. I could get about 3 hours steaming time on a fill up of water. This would allow the wood to get to near 200F and allow the proper bending. The rear bow was about 9 feet long, 1-inch-thick and 4 inches wide. We put two 90-degree bends in that piece and it worked perfectly. After a bit of trimming and sanding, it fit onto the top sockets just fit. The other top bows were also bent and the top frame was completed by constructing a new visor, along with the matching trim for the visor. Once the top frame was completed, the top could then be installed. I bought good quality top material from Restoration Specialties and proceeded to design and constructed the top, the result is pleasing and functions nicely. This is a California Top, a soft top that does not let down. There are multiple snaps installed per the original design that allows the side curtains to be installed. Those will be made later this year. And finally the interior We selected black full grain leather like the original. We chose a flat colour, nothing flashy for the old girl. After careful restoration of the seat springs, a new rear seat frame and several other fixes, I began to install the leather door panels and seat sides but kept the upholstery as near to original as possible. I did replace a few broken springs, cushioning and the like but as you can see the result is well worth the effort. Leather kick panels and matching leather Hidem trim (custom made) really trim out the new seats and door panels. Remaining work: Finish up the new floor boards and trim along with a few trim details. The white-haired lady in the photo below is my great-aunt Kathleen Wood, she is 97 in this photograph. When she came to visit on Memorial Day of 2014 (May 25th), my uncle asked her if she would like to ride in the steam car. Her short reply was "yes, that's why I came up here, to have a ride". She climbed in, sat down and said let's go. Her 100th birthday is in March 2017; her health is still good and she plans to ride in the car on her birthday. The previous owner of this car (from 1930 to his death in 1975) was George Asbury Howland. He and his wife never had children but in the photo below is his nephew Steven Howland and his wife. As you can see, Mr Howland second from left is quite tall and his uncle was even taller. This is why there were several modifications done to this car – the seat height was lowered, the under seat air tank was relocated to the rear of the car, along with the jump seats being removed to accommodate that change. Mr. Howland located me after hearing about me restoring his uncle's steam car and wanted to see the car in person. In the photo below is Tony "Tin Man" Inman – master fabricator and restoration / rod expert. He has provided much in the way of metal fabrication and project advice, doing most of the body metal work. He was responsible for the paint preparation. The Photo below is of my parents waiting for a ride. In the photo below is Tin Man and crew working on the body and prepping for paint. In the photo below is Jonathan Embry of Embry's Paint and Body Shop preparing to spray the PPG Washington Blue base and clear coat. In the photo below is Tin Man and crew working on the complex curve of the splash aprons. In the photo below is Tin Man: Using a custom die to put the correct radius on the splash aprons In the photo below is Brothers Jackie Bragg and Joseph Bragg (my uncle and father) working on trim for the running boards. Special thanks to: My family, particularly my wife, father, and children: Sabrina Bragg – my wife of 30 years, patience, inspiration, encouragement, keeping me in line. Joseph Bragg– my father and inspiration for the project, help, advice, guidance, and the most encouragement! My children: Landon, Alex and Millie for all the help, questions, and checking in on me when I am “in the shop”. Mildred Bragg – my mother, always helpful, and doing wonderful sewing for parts of the upholstery. Jackie Bragg – my uncle - encouragement and advice along with help. Dennis Bragg – my first cousin – help, assistance, metal work, advice and encouragement. Howard Johnson, training, mentoring, guidance, advice and encouragement – as well as several parts. Don Bourdon – new boiler and burner. Don Hoke – parts, advice, supplies. J.R Goold Vintage Steam Restorations – parts and services. Tony “Tinman” Inman – metal and body work. Jonathan Embry – Paint. Dallas Plating – nickel plating. McMaster-Carr – they should have sponsor recognition after the almost weekly deliveries. The 4th and Final part of the story of the restoration will follow soon. BARBARA HILL Impressive patience, stick-to-it-ness, and loyalty to the original. Beautiful!
1 Comment
Barbara Hill
3/17/2017 09:13:34 pm
Impressive patience, stick-to-it-ness, and loyalty to the original. Beautiful!
Reply
Leave a Reply. |
Archives
December 2022
Categories
All
|
|
|
Steam Car Network functions as a resource for all steam car and steam bike enthusiasts. The website is constantly updated with articles, events, and informative posts to keep the community alive and growing. Feel free to contact us if you have any questions or concerns at the email address below and we will promptly reply.
[email protected] |


 RSS Feed
