|
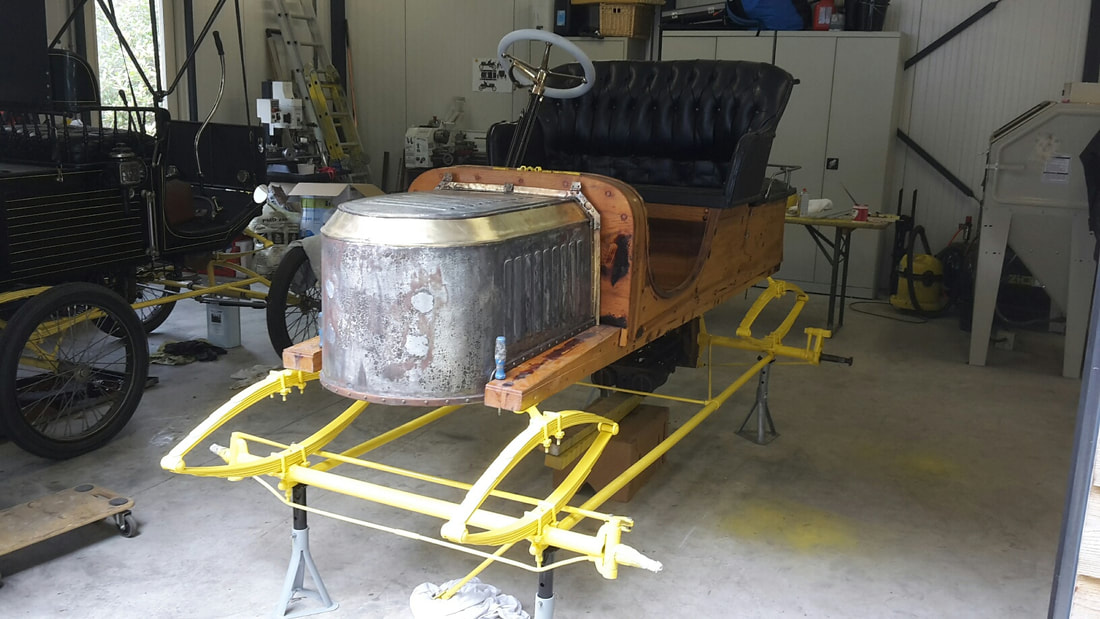
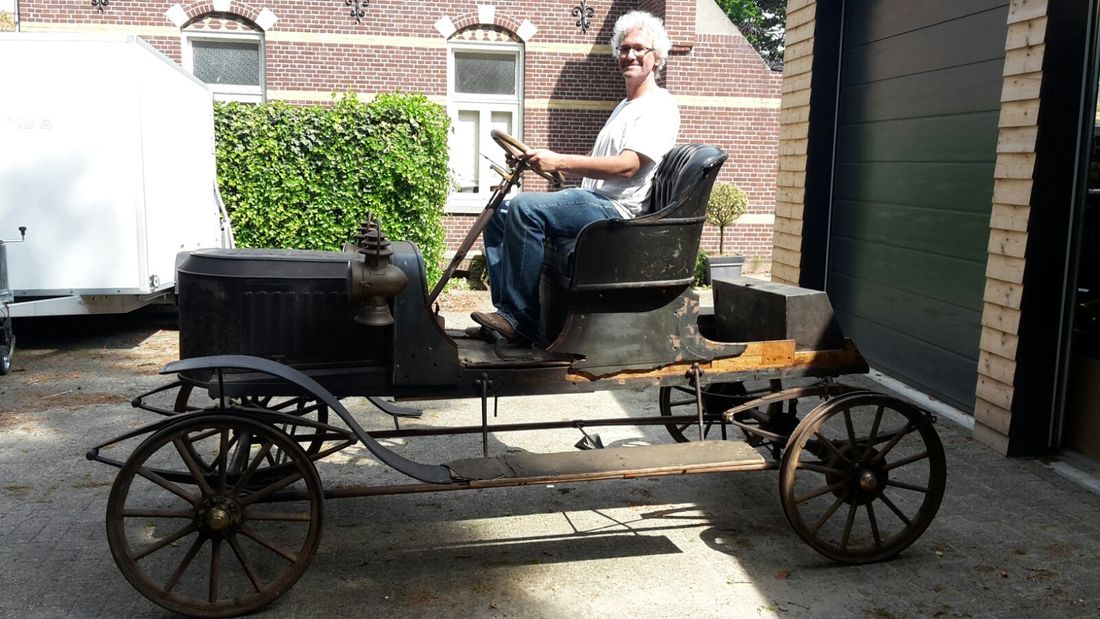
PART ONE My name is Roel Rasker from the Netherlands. As a regular visitor and exhibitor at the Great Dorset Steam Fair i became more and more interested in steam cars. After building a Likamobile from Steamtractionworld in 2009 i have had different Locomobiles. The Locomobile i own now is a good running car from 1900 witch was previously owned by Steven Theobald. I drove last Melle tour in Germany almost without any problems ( thanks George Hounslow for riding with me and helping ! ). A few months ago i went to America to have a look at a 1907 Stanley EX. This car was advertised for a long time on the Steamcarnetwork website as well as other websites. On this trip i have bought the car and i also went to Don Bourdon to meet him and have a look at his workshop. There i orderd a boiler and burner for the EX. This week the car arrived to my home. I am planning a full restoration. Most work i can do myself having some experience in metal- paint- and woodwork. Some parts i will have to buy. The car has number 3511 and is very original. In the deal was also a new body. Pictures show the old parts temporary put on the new body. I want to use as much as possible from the original body. This will be a lot of extra work, but an old car is original only once. In this and future articles I will try to show pictures from the process. If anyone has ideas or parts to complete this car, please let me know. Best regards Roel KELLYlink
I looked at that car closely at Hershey. It's a wonderful starting point, with so much original material and build detail. I do applaud your intent to retain as much original material as possible. It's much more interesting to have a car where a high percentage of its content came bolted together into the same car out of the Stanley factory door all those years ago.
1 Comment
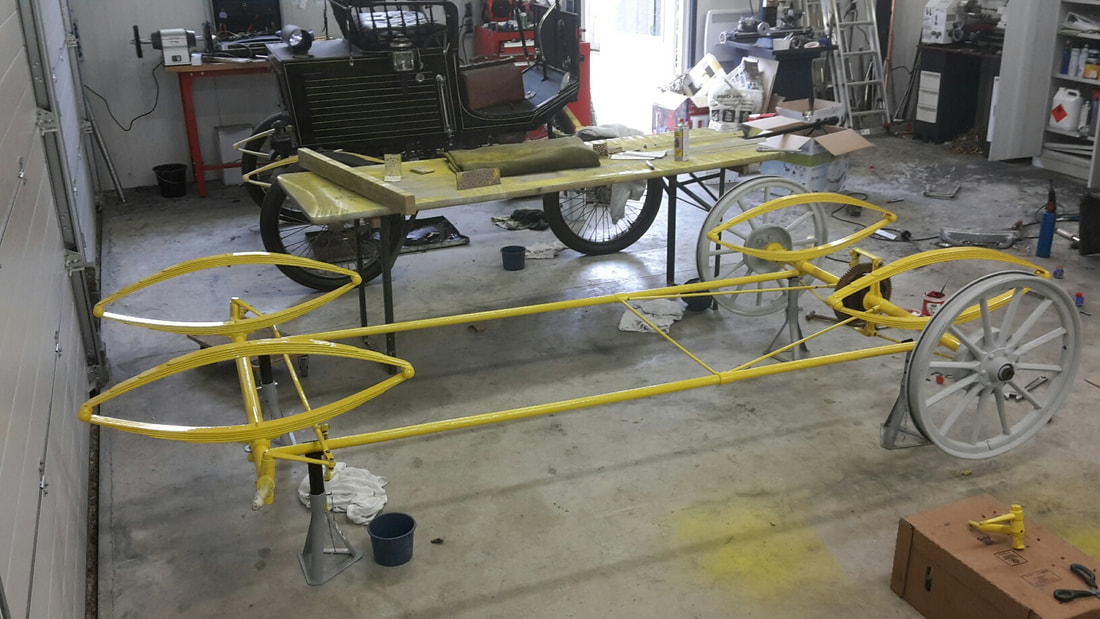
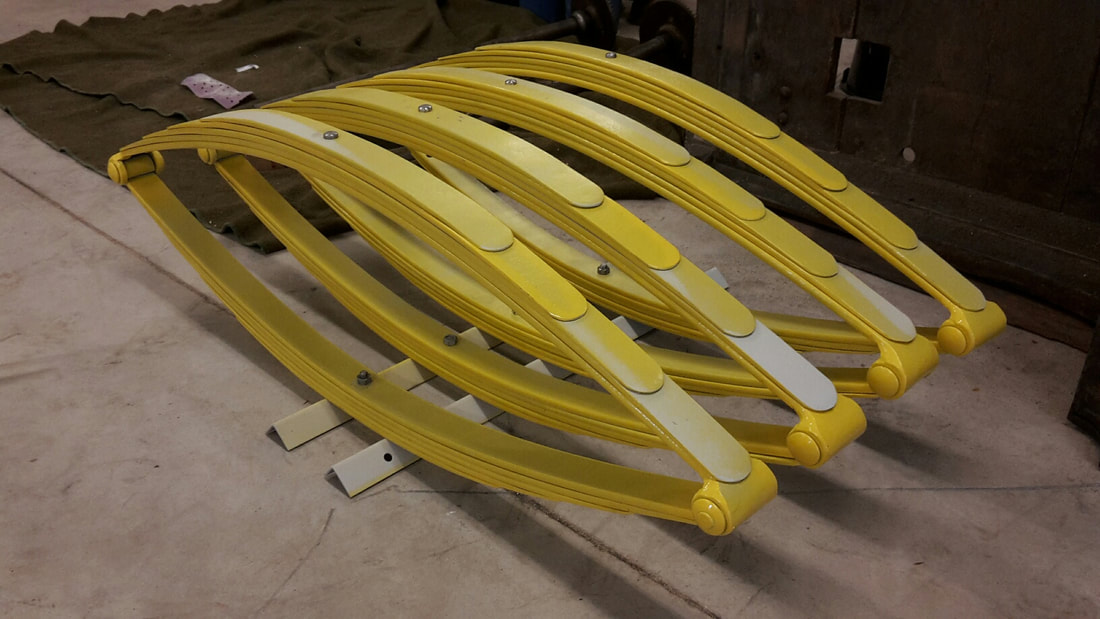
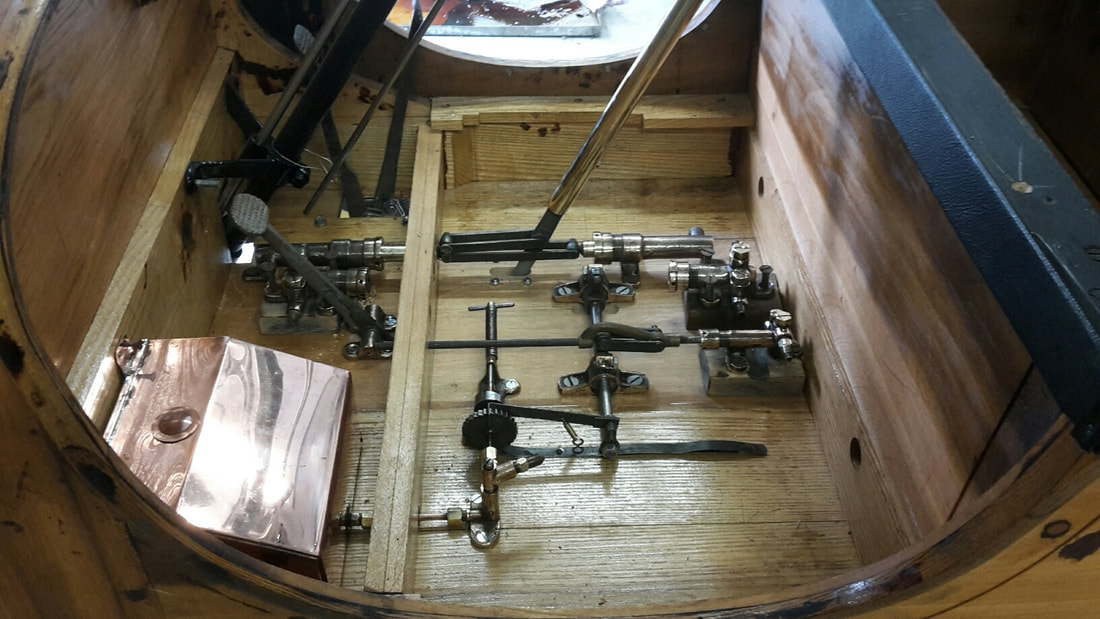
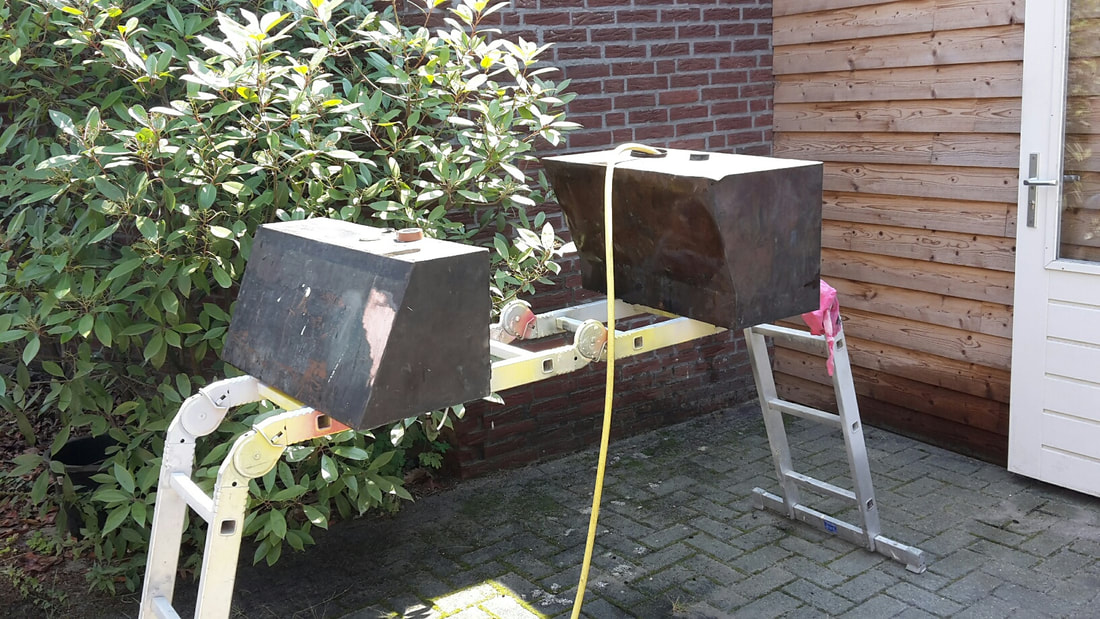
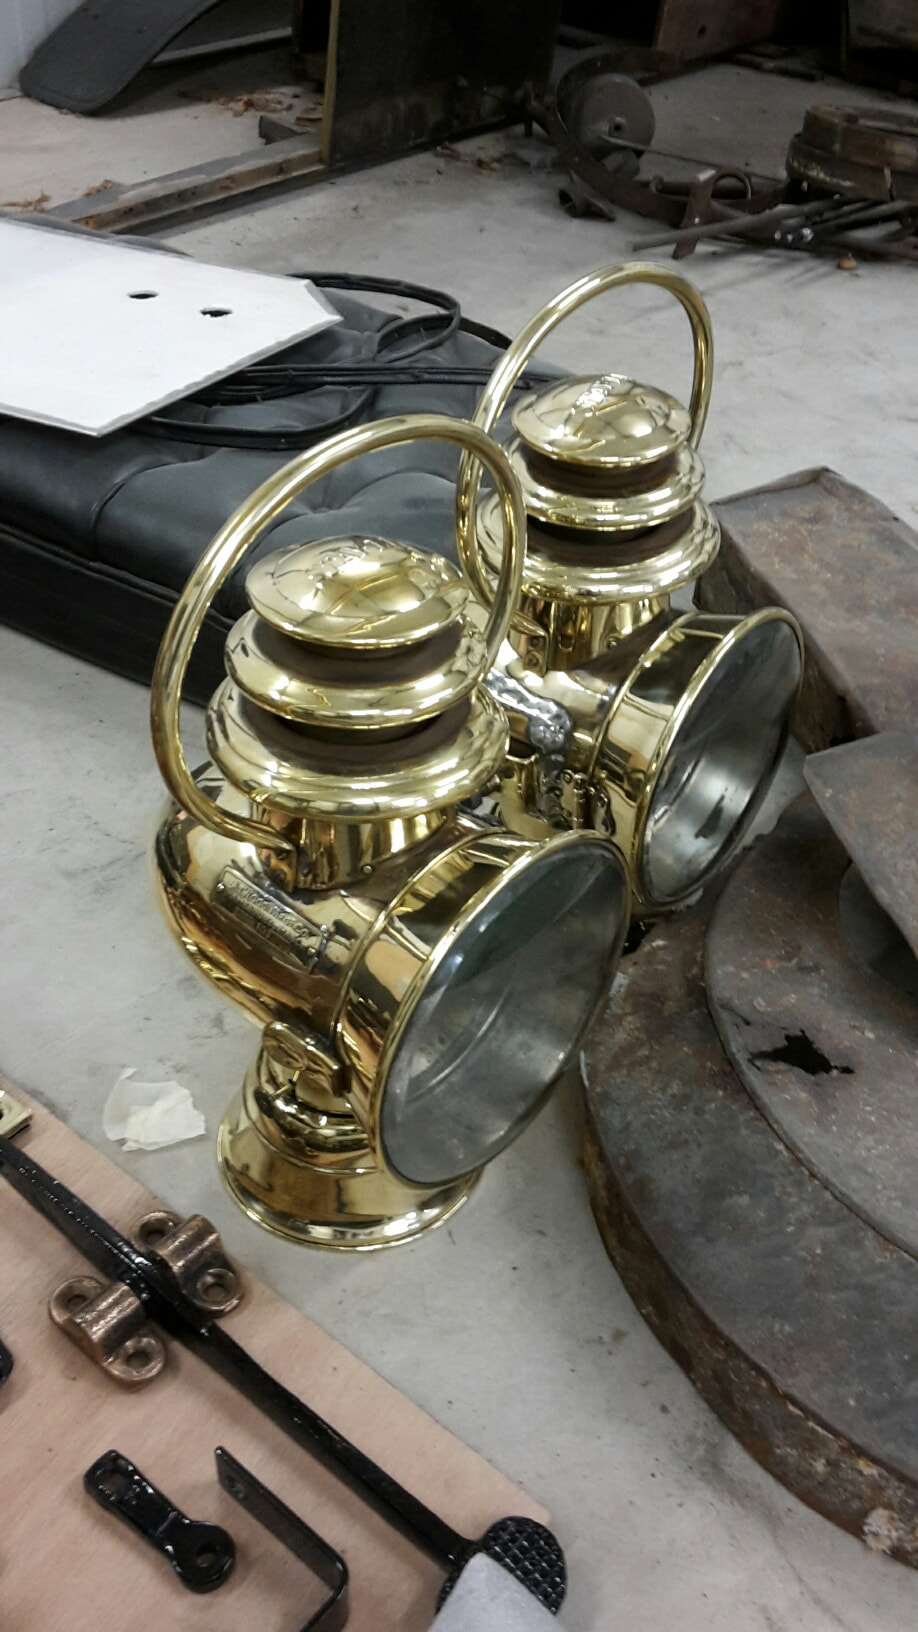
- Part Two I have decided to use the new body. The old body was cracked and damaged to much to restore and still keep enough strength. A lot of parts from the old body will be used on the new body as pictures show. The car has been in a accident once. both wood layers were badly damaged and the body was not straight. This week i have done a lot of sandblasting on wheels,leaf-springs and chassis. Every part is cleaned and spray-painted in a K epoxy coat. Between sandblasting all kind of small parts are made, cleaned or repaired. The steering column did not move anymore and i had to make new bronze bushes to get it working the way it has to. The steering-system is pre-fitted on the body before painting the steering column. I have glued and riveted brake liner on the brake-shoes. I gained experience with this process on my Oldsmobile curved dash so this was an easy job. Also much work is done on the differential. The 3 gears are made from scratch and it took a lot of measuring and testing before everything runs fine. For this part i had help from a 84 year old local craftsman. The un-restored top gives a little bit a “titanic” feeling but gives a goo idea how the final layout will be. The engine is taken apart and checked on wear. All parts look fine and it didn't take much work to get the engine running on air. Some small parts were missing but i have took them from a spare engine i have. Back to the sandblasting cabinet..................................... Part Three After sandblasting and small repairs the framework is given a 2K epoxy coat and a 2k Color paint. The springs are taken apart and each leaf is epoxy coated. I then applied a thin layer of colour paint on each leaf. After drying i assembled the springs and painted them again. The front wheels were not the correct size. They where a different size than the back wheels. I decided to fit smaller rims to fit 30 x 3 tyres as well. Being a very difficult job that needs experience i have sent the wheels to Robert Hurford. When ordering Wheels, valves, boiler, burner i have noticed that all craftsman have a lot of work and i have to wait a long time. Nice to see that they are all very busy, but i have to get used to this. I have pre-fit the body on the chassis for the first time and it fits perfect. In the meantime all kind of small projects were done like repairing the bonnet, overhauling the steam-oil system, throttle and water bypass. The dents in the bonnet are hammered out and holes are filled with tin. The steering wheel was in a bad condition so i decided to repair the cracks and paint it black. The engine is pre- fit as well and runs on steam provided by my locomobile. Part 4 Working 40 – 60 hours a week on the Stanley EX i am making progress. Robert Hurford did a great job adjusting the front wheels. It was nice to meet him at his workshop in the old mill after a week of dust and steam at the Great Dorset Steam Fair. At the GDSF i also bought a beautiful taillight. It happend to be exact the same model as on Terry Fry’s EX. After testing the engine i mounted the copper covers on the engine. I made a 18 mm thick oak pump-pit board and prefitted all the pumps. The missing parts are made in brass on my lathe. On a sunny day i filled the gas and water tank with water to check for leaks. The fuel tank was in a good condition. I have found 3 old dipsticks in it, probably left there when they fall in the tank checking the fuel level. The water tank had a few minor leaks, making it a easy fix. The two fuel pressure tanks are made of steel and the inside was corroded. In America i bought two beautiful and safe new thick copper tanks. They are mounted under the seat so unfortunately you can not see them when the car is ready. After pre-fitting most of the parts i have taken everything apart. The body is given a epoxy coating and after a lot of sanding it is now spray-painted in Brewster green. All the preparation is done in epoxy. The last layer of paint is done by a professional in a spray booth . My worst nightmare is that someone says; “nice car, did you paint it yourself ? “. The very original seats were in very good shape but the paint was very old and needed to be removed completely. The wood underneath was in perfect shape. The two lights that came with the car were in bad shape. It took me many hours of soldering and polishing to get them right. Steam and Fuel automatics are taken apart and cleaned. With pressure test equipment they are set to 350 and 50 psi. I think this is a good starting point. If anyone has other ideas about that please let me know. I have been trying to force a boilerring from a steel profile but i did not succeed. A lasercut ring with a welded hoop and some bended parts were combined to a nice original looking boilerring. I also made a new asbestos free firewall from ceramic felt and bended tin plate to get as close as possible to original standard. It might look that i am working on all parts with no schedule but on this way i can keep working on the car while i am waiting for all kind of parts. Roel.
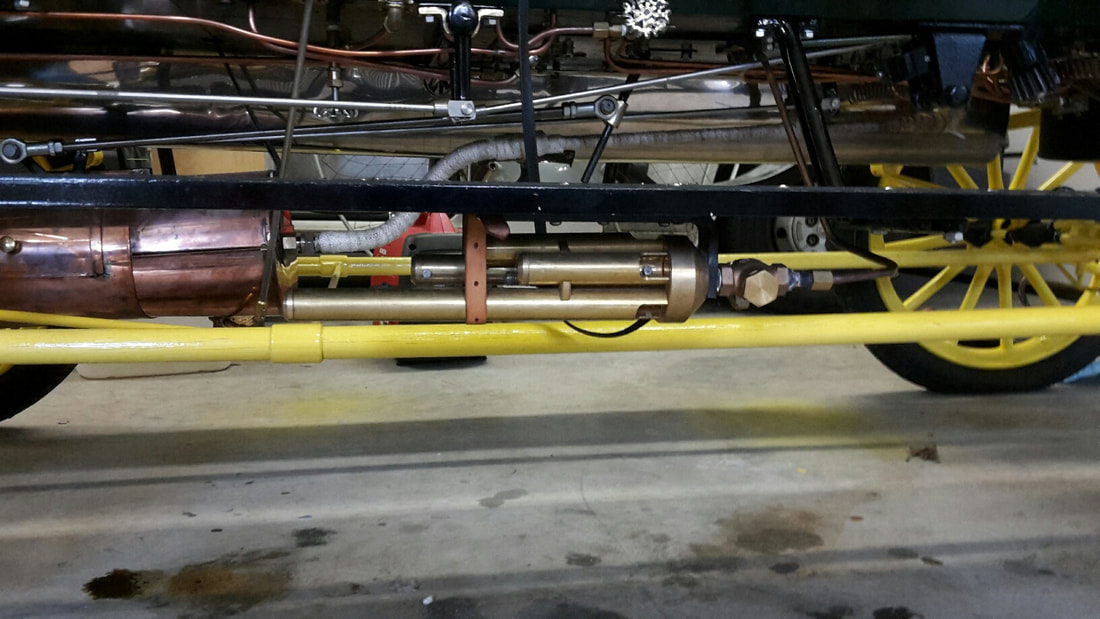
Part 5: After receiving the body parts back from the painter I started to assemble all the parts. I made new oak running-boards and attached the mudguards to them. Everything was pre-fit before painting. That made assembling the parts a easy job. I had to remake a few brackets that attach the mudguards to the body of the car. On my trip to England I collected my new Don Bourdon boiler at Basil Craske`s Workshop. At home I inspected the inside of the boiler with my new 15 euro camera. I want to do this inspection every year to see how the boiler keeps up with pollution. The boiler fits perfect in the new made boiler- ring. I putt a ceramic blanked around the boiler and covered it with a stainless steal casing. This casing needs to be easy to dismantle if a boiler inspector wants to see the piano-wire winding's. The old top on the boiler was only usable as a template and i made a new one from stainless steel. This i covered with 4 layers of dip-lag. I also cladd the inside of the bonnet with dip-lag i bought from Vintage Steam Products. Drilling and tapping the boiler was not very difficult. The instruction manual from Don Bourdon was a great help. The boiler is attached to the boiler-ring with 3 steel rods. They go trough the boiler-ring and are also the supports for the burner. Another thing that was not with the car was the exhaust/chimney and the copper end part. The exhaust/chimney was made from stainless steal and the end part from copper. I used drawings I have found on the internet for these parts. The engine steam outlet also goes into the exhaust/chimney in a special way to make the exhaust/chimney work better while driving. Last month I also received the ordered parts from the Goold family. These parts are beautiful machined and everything fits perfectly. I used the, time correct valves and valve wheels as advised by Grant Goold. With a almost ready car but without a burner and most of the plumbing I took the car to the national road traffic service to get it road legal. Nice detail is that the address for the national road traffic service unit is Stanley road. This inspection was for me the most difficult part because I did not put the car up for inspection before I started the rebuild. I had to convince the inspectors that it was the same car as I bought in America. Luckily i could convince them with a lot of pictures. So far I have spent 6 months restoring the car and i can not wait to receive the burner so I can start test-driving the car. Merry chrismas and a happy new year to you all. Best regards ROLLY EVANS 12/26/2017 12:01:43 pmBeautiful job. I see your restoring the pumps as original. If you want maximum performance add a second fuel pump back to back like the water pumps or you will need a passenger to keep pumping up the fuel pressure. I also added a pressure reducing valve on the pilot to hold the pilot fuel to 30 PSI. The main fuel I run 120 PSI. Rolly Thank you for this advice. Roel
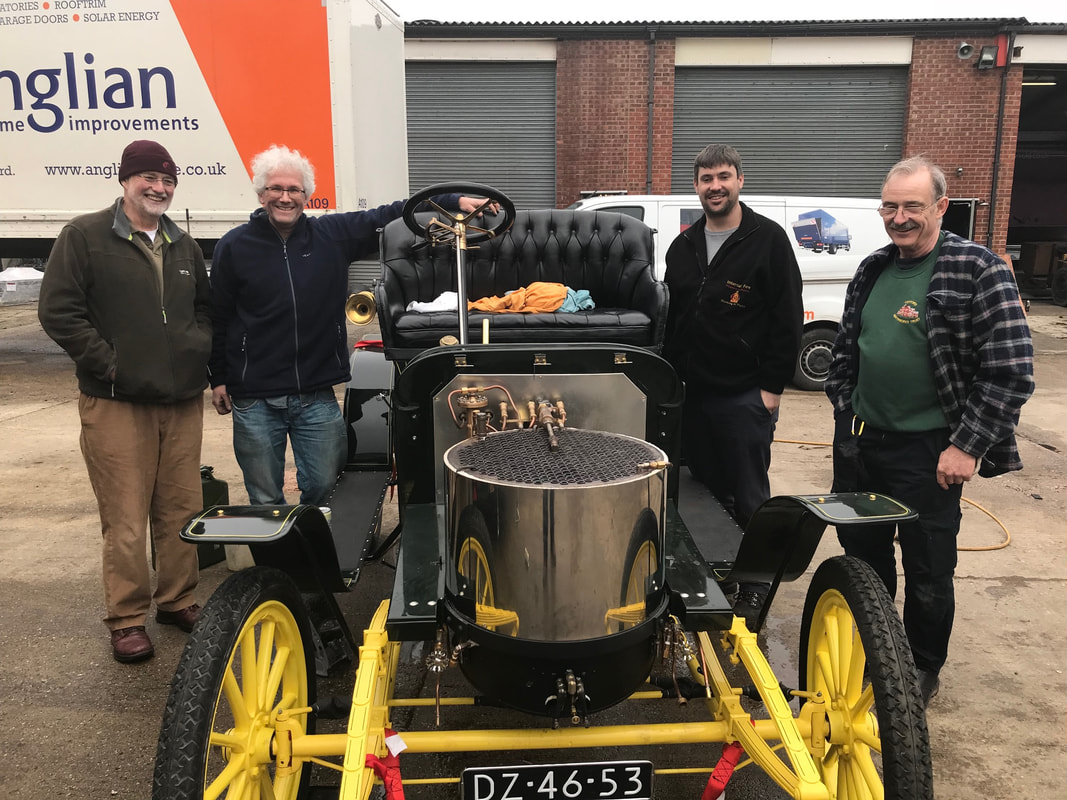
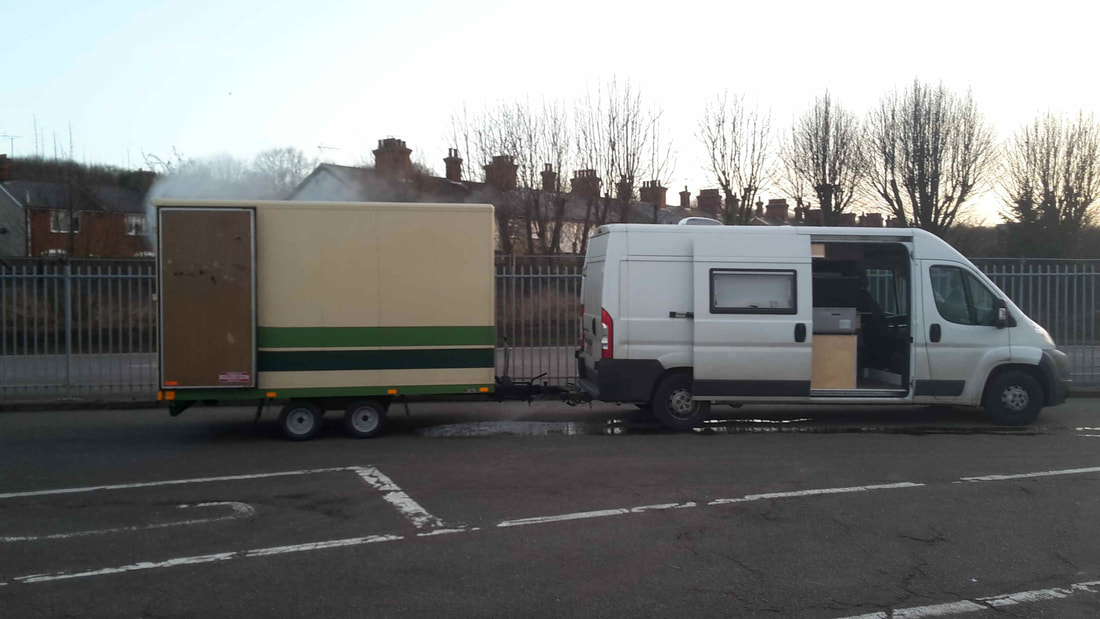
STANLEY EX RESTORATION COMPLETED3/18/2018 Part 6 Pin-striping I applied black details to the green body. This was a time-consuming process of masking and spraying. After this I applied the yellow lines with a Buegler pinstripe tool. This is a tricky process that requires a steady hand. On youtube movies it looks very easy, but you have to be very patient for a nice result. Burner Two days before the planned boiler test, I received Don Bourdon's burner. This is constructed in a special way so that all maintenance can take place from the front. It is made to work on regular petrol. At the moment I am testing the car with Aspen fuel. This fuel can be compared to coleman fuel. In normal fuel are about 200 substances and in Aspen only 10. In principle, therefore, no carbon build up on the cables and also the nozzles must therefore remain extra clean. The disadvantage is the higher price of petrol. Time will tell you what the results are. Whistle From pictures I copied a brass steamboat whistle which is mounted under the footboard. Boiler test in Norwich England On March 16th I visited Basil Craske in Norwich to have my boiler tested. Together with my car were 4 other cars, to be tested. 3 belonging to Basil and 1 belonging to Dudley Watts. After some small fuel problems which were solved with the help of Dudley, the boiler could be pressurized after which various checks were carried out. This resulted in a boiler certificate that is valid throughout Europe. On the way back home I found out that it was freezing in the Netherlands. Therefore, before I entered the boat, I left all the water out of the car and because the boiler was still hot from the test, a lot of steam came out of the trailer. The port security came to take a look at whether there was no fire. Back home I made some minor adjustments to the car. With this, the car is ready - roughly - for its first trip in Melle, 111 years after the car rolled out of the factory in America. It took me almost a year to complete this car. It was great fun and I learned a lot.
I would like to thank everyone who gave me tips and advice and of course the suppliers of specially tailored parts. Roel Rasker. |
Archives
December 2022
Categories
All
|
|
|
Steam Car Network functions as a resource for all steam car and steam bike enthusiasts. The website is constantly updated with articles, events, and informative posts to keep the community alive and growing. Feel free to contact us if you have any questions or concerns at the email address below and we will promptly reply.
[email protected] |


 RSS Feed
