|
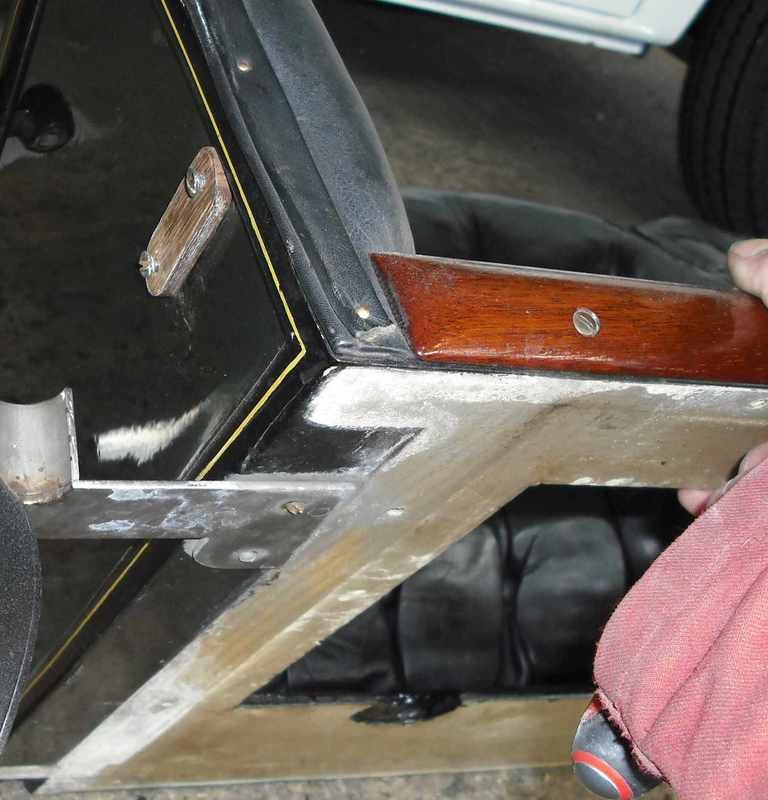
PART 2 A recap of what we took on and the problems and work needed. Note the fire damage as well as wiring quality. Note the oil soaked sections all over the body as well as diff and other areas needing repairs. Now we start the body repairs and paint. With the the car completely disassembled, the body was steam cleaned in an attempt to remove all the oil and dirt. Once done we then looked at all the burnt areas to assess what needed replacing by cutting in new wood. We took the decision to rub down the body with 180 grit paper. This took a few days but did reveal some more de-lamination problems. Repairs were then carried out by cutting in new sections of wood and repairing many small section over the entire body. With these repairs done, sanding of the body continued in an attempt to get to an acceptable surface finish to allow sealing of the exposed wood areas with a coat of West sealer. The sealer was then rubbed down and a coat of primer was applied to the entire body. The body was allowed to dry for a few days allowing for some shrinkage of the primer. We found whilst preparing the body for paint that the car had been painted after full assembly. This was clear under the seat bases and under all the steel fittings and steel framework. Under the seats we found no paint or sealer, as was the case in many areas. Water ingress into the wood had caused a few problems. Once primed and ready for paint, checks were made to obtain the line detail as used on the model 70. This was done with the help of Alan Blazick. No coach line painter could be found to do the detail work for the lines on the body,chassis, wheels etc. It was decided to do it ourselves by using special low tack tape cut to spec. A local company was commissioned to undertake the work. They cut low tack material into the very thin lines, the sizes for the car and chassis ranged from 1/16 of an inch in increments of a 1/16th at a time up to 1/4 of an inch. Shaped sections were also cut for the wheels and spokes. When the primer had been prepared for top coat we painted the entire body, doors and seats all separately with a base coat yellow- the colour of the lines. Once applied we then taped the lines using the low tack tape. The tape colour was black which helped us get the detailing uniform and accurate. The idea here was that after the top coats were applied that the tape was removed revealing the painted yellow detail lines. Line width was determined by tape width. Once the tape had been applied the seats doors and body were painted black again in base coat. The black also gave an excellent base colour for the green paint used for the balance of the main cars main colour. Once the black had dried, sections of it were taped over , the sections taped over were all the areas that would be black on the finished paint job; moldings around the edge of the seats for example. Now we painted the body and seats etc green again in base coat green. When dry we removed the taped areas revealing the black and yellow detail lines, all in the Matt base coat. The odd touch up took place to make sure the finished job would be to a high standard. Five coats of lacquer were applied to the painted body sections giving the gloss to the paint job. This was slow baked at a low temperature. When dry all the painted areas were wet flattened and then polished using a slow revving polishing mop and various cutting compounds. This now gave us a high quality gloss finish with the added benefit of the detail lines being sealed in place, so no lines could be polished away when keeping the car clean and presentable. The same paint system was used on all the painted parts of the car and chassis etc. With the body now finished and ready for assembly along with the chassis we turned our attention to the wings (fenders) and bonnet (hood). These were in very bad condition . The bonnet had been severely burnt leaving bad heat distortion. The wings had also been damaged in the past leaving them with numerous dents and twists to their shape. As one can imagine the wings needed a large amount of work to include reshaping- in some areas heat shrinking was needed. All the splits were welded up and filed into a flush finish. Some areas were leaded to achieve the final finish required prior to painting them black, again using a base coat and lacquer. The bonnet was a major challenge. We tried to source a new bonnet but none were available. The top lift up flap was twisted and badly heat damaged, as was the rest of the bonnet. Heat shrinking was used to get it back to a workable shape. The pressed leuvures were reshaped by hand both on the flap and sides. A minimum amount of lead and filler was used to achieve the finish shape, as we had to consider the heat in this area. Over a hundred hours were spent on the bonnet alone. Once finished the bonnet was painted using the same method as used on the body.
0 Comments
|
Archives
December 2022
Categories
All
|
|
|
Steam Car Network functions as a resource for all steam car and steam bike enthusiasts. The website is constantly updated with articles, events, and informative posts to keep the community alive and growing. Feel free to contact us if you have any questions or concerns at the email address below and we will promptly reply.
[email protected] |


 RSS Feed
