|
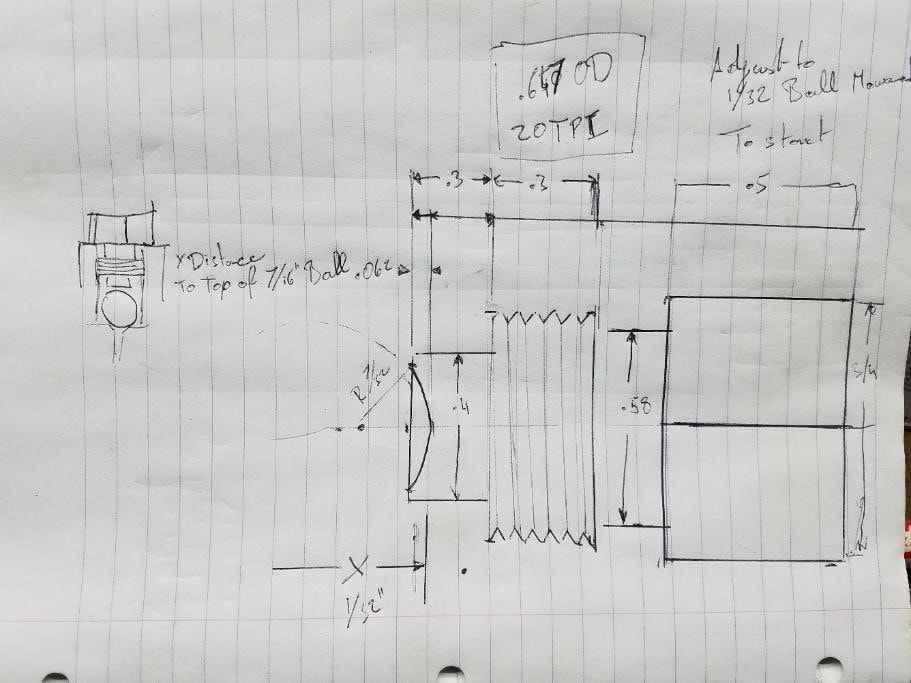
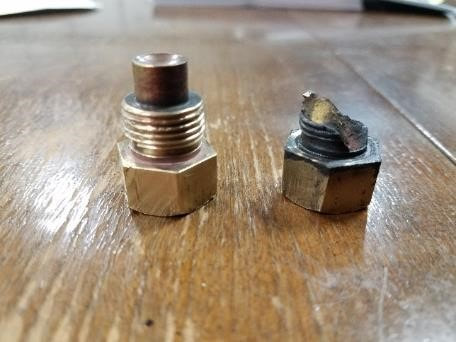
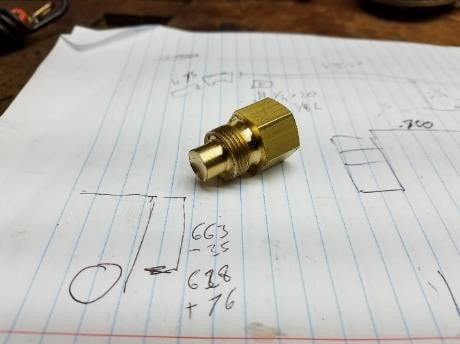
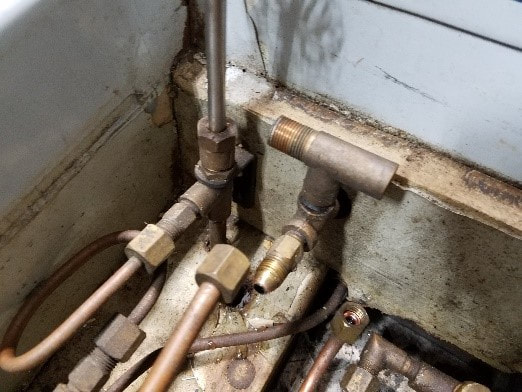
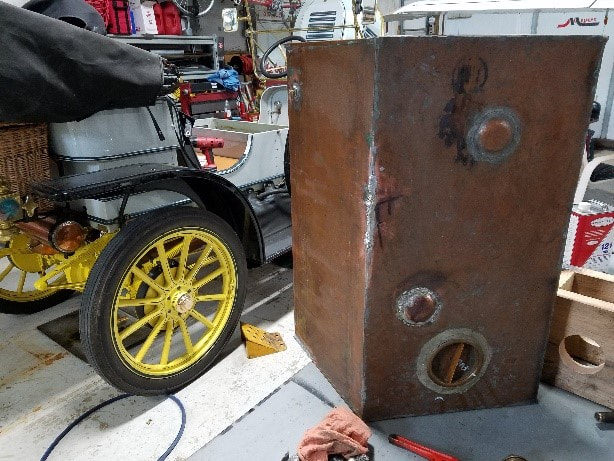
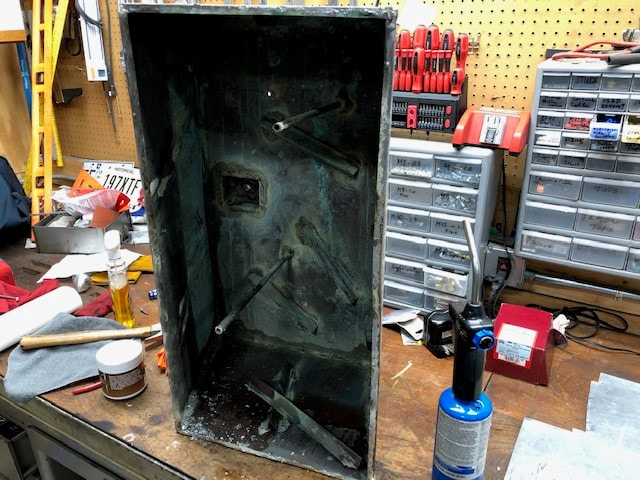
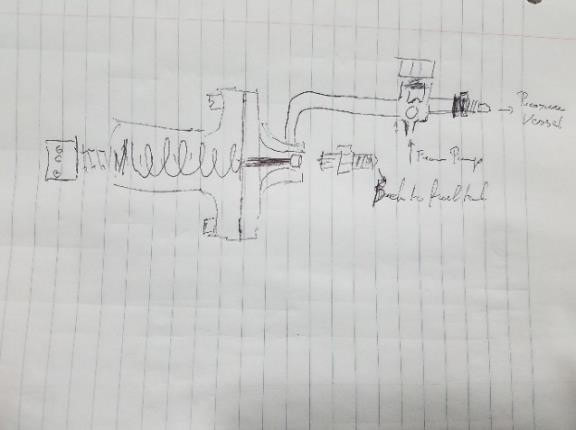
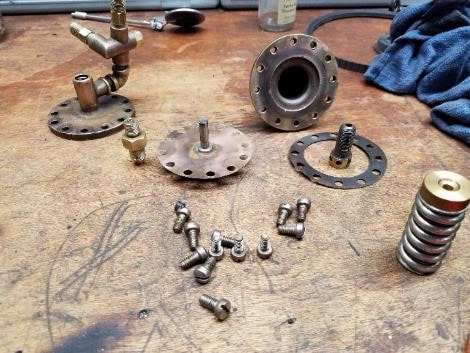
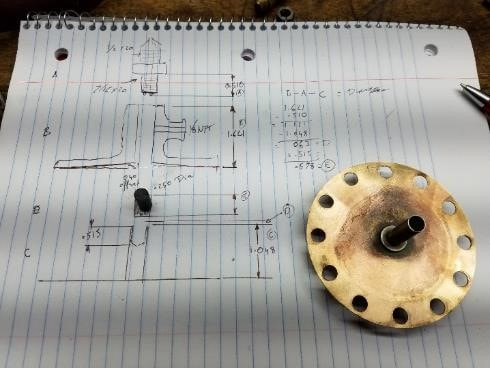
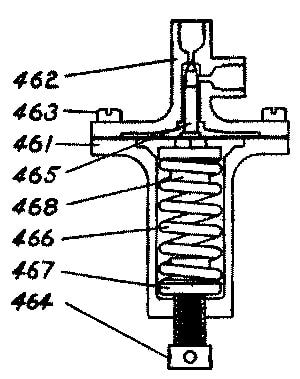
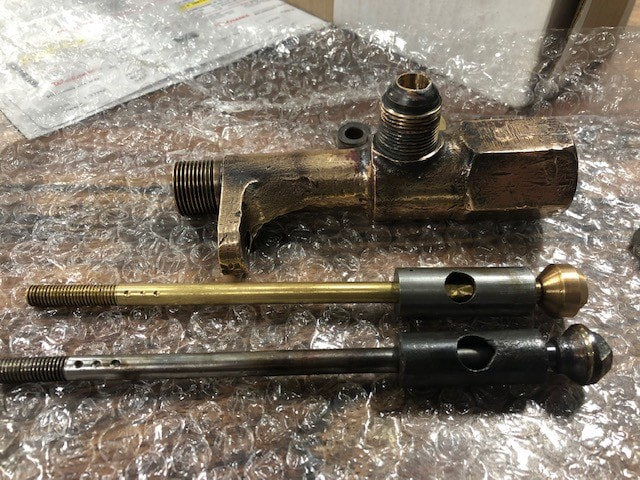
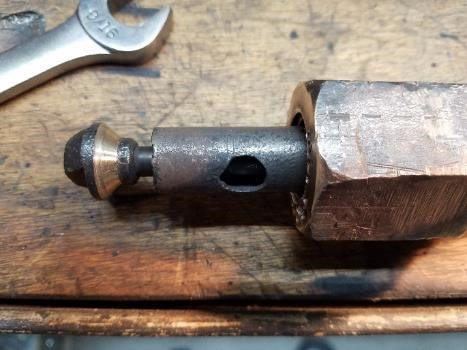
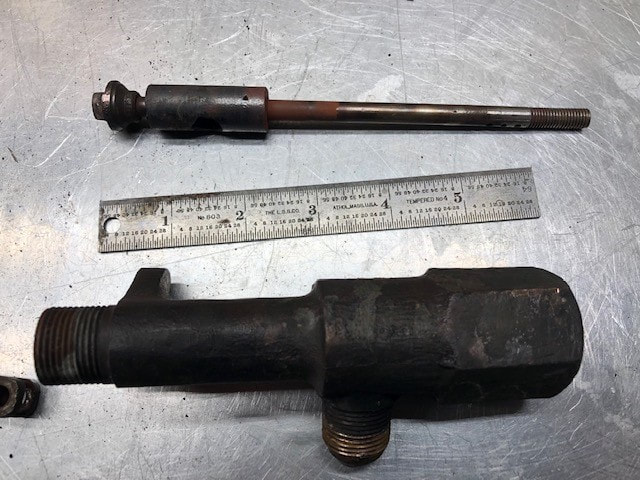
- Maintenance log. This is the maintenance log I have kept since I acquired the car. 2013. We bought the vehicle from Phil Lewis in August 2013. This was my first exposure to steam and most of the year was spent just on learning. Met Robert Wilhelm, Mr Marshall and his steam museum in Maryland and towards the end of the year, while in Maine, I met the Stanley Steam team at the Museum there. I did not steam the car up for the first time until the end of the year. Installed replacement Burner Phil had acquired through Allen Blazik. Mapped plumbing. Converted Propane pilot back to hexane. Tried to fix leaky valves. 2014. 2014 was generally spent learning how to fix valves and pumps. I experimented alot with different packing material. Replaced packing in water pumps. Replaced Packing in fuel pumps. General cleaning and polishing. Many local rides. 2015. Machined water pumps for balls to run at 1/32” clearance. Replaced with Delrin Balls (7/16”). Replaced Packing again. Disassembled Oil system, cleaned and fixed oil tank where a screw was put through it, disassembled oil pump and reassembled to different specs. Disassembled oil pump again due to intermittent lack of pumping oil. Removed a check-ball that did not show on the drawings, it did not fit and was probably added in error. As the result of an oil leak, found damaged gears in the differential spider. The drive train completely removed and disassembled. Broken parts sent off to Gilbert Hall at Rempco in Cadillac. Rear suspension sent to Detroit Spring to fix sagging. Finished the Canadagua Tour this year, which was our first Steamcar tour with no real issues. 2016. Repaired plugged fuel line. Reassembled engine with some newly built bearings (Rempco). Reused valves and repacked guides. Reassembled rear end, refitted axles and clearances in repaired housing (Jim Wright) and powder coated parts (Creative Powder-coating). Repaired water tank. Had multiple issues during Maine tour. Pilot kept going out. Squeaking in the pumps and fuel delivery failure eventually forced us to trailer it back on the very last day. Replaced pilot casting with new one from Bourdon and built a new needle from 1/8 steel rod using lathe grinder. Threaded it to standard #6 and threaded the casting accordingly. Main fuel valve at the tank was completely plugged up. Much squeaking in the pump assembly resulted in repacking with more high pressure packing from Mc-master. Iowa Tour brought more issues with pilot and leaking main throttle. We finished the tour with poor fuel delivery issues (plugged valve). -Participated in two tours: Kingfield Maine put on by the Stanley Museum and Prairie du Chien in Iowa. Neither were free of problems but the car performed well 2017. Removed burner, disassembled burner. Cleaned and reassembled with new bolts and nuts. Disassembled the main fuel vaporizer completely and flushed the system. Replaced into the burner assembly with hardened bolts. Removed and disassembled throttle. Straightened shaft, machined cone, reassembled and tested. Seated with minimal leakage. Shaft moved freely after repair. Replaced the assembly from the boiler to the throttle with a single medium thickness black pipe, connected with a Swagelok part number SS-8-RSE-6 elbow. Got ¼ pipe and elbows as well as “Key Graphite Paste” from Mc-Master to start sealing piping. Extended the whistle valve and redid that assembly. Re-seated both valves for the sight glass and re-seated the blowdown valve into the exhaust The smoke hood had started to crack at a point where it did not match the boiler hold-down bar. The bar was re-positioned and the top TIG welded. Removed the fuel automatic and disassembled the bottom part. Repacked shaft and reassembled. The entire assembly was filled with water and tested to 750 PSI. Steam automatic restricts at 550 psi and closes completely at 600. Checked for leaks. Because of ongoing poor performance on the water pumps, I decided to replace the packing in the water pumps with #247 John crane packing from vintage steam products. The check valve cap broke and I remade one. Took apart fuel automatic. Remade nylon valve. Fished extra bearing from pipe that had occluded the system. Re-seated check valve and cleaned the system out. Reassembled and set for 130 psi. Don Bourdon is building a new boiler. Picked up 8-17 and put in storage. Removed old electric box for propane equipment. Ran electrical wire for brake lights to wicker basket. Replaced brake lights with LEDs. Installed water separator for both main and pilot systems. Plumbed acetylene tubing to the lights from the running board and hooked them up. Made a new hub cap. Exhaust leaks. Sealed up leaks in the exhaust system. Welded the front part and screwed the rear end together to get rid of all the gaps. Rebuilt the tailpipe by welding it rather than soldering it. Rebuilt the front brakes (Well, Mike from Kennedy’s did as he found the parts) turned the rotors down .020 which made the units fit better. Repacked the front wheels and replaced the seals. Removed water tank and had it fixed by Thomas radiator. It was still leaking a tiny bit after last year’s repair. Replaced some of the covering on the smoke hood. Late 2017: Replaced front tire right side (left from front). Made bigger bolt hole and tighter treads in front right kingpin (left seen from front). Put in 5/16 soft bolt, kept upper hardened bolt in place. -Participated in Vermont tour with no issues other than running over a screw on the last mile of the last day, causing a flat tire. 2018. Replaced rear tires, a job I hope never to have to do again. Fixed front roof bow which had somehow broken. Removed water reservoir as it was leaking again and brought it to Thomas Radiator to see if they could fix it. Fuel starvation again due to main fuel valve plugged up. Cleaned and reinstalled. Replaced water separator as it had gotten so dirty you could no longer see the bowl. Tightened all bolts holding pump housing to the car. Repacked water-pumps again and found pump-shafts to be concave, likely leading to premature failure. REMPCO machined new ones from hardened material. They need oiled after each use to keep from rusting - Participated in Pennsylvania tour, hosted by the Auburn Heights and Mr Marshal as well as the Washington, Missouri tour put on by Dick Friedeman and Joe Graziano. Both were trouble-free. 2019. The Water reservoir started leaking again. Top and one of the sides was removed. Copper was thoroughly cleaned, and bottom was welded back together with poor results. The rest was soldered back together, and aircraft tank sealer was used to waterproof the seams the top was then soldered on again The steam siphon system was repaired as described extensively in that section. Rear axle shafts were re-machined to allow more wheel clearance. Oil seal system fabricated on the outer axles to keep oil out of the brakes as described in that section. Steam box cover replaced with new one from Hokes. Driver side rear perch pole nut repaired. A lot of the worst paint damage was taken down to the wood, re primed and repainted with Sherman-Williams industrial enamel. The flat section on the driver side was painted with an airless system. The throttle was removed and rebuilt by Gil at Rempco in Cadillac. The smoke hood was remounted and the holes were refilled with refractory cement. The kingpin in the Passenger front wheel was tapped and fitted with a hardened bolt, similar to the driver side. The wedge in the lower part remained. The Fuel filter was replaced. Replaced the hinges on the windshield with reproduction Brass-era model-T hinges. Fabricated a new end to the siphon hose out of brass and copper parts. Eric sewed a patch on the driver side shroud as the material had worn through and the rod started coming out. Learned to pinstripe and did quite a bit of that. Repair Guide. Water pump check valve bolt. Check ball clearance 1/32”. Adjust by machining excess off lip. Raw material: 3/4 “hex rod from McMaster. The tank is made from copper sheeting soldered together into a shape that fits under the seat. The seat top is removed with wood screws under the base. The water return line has to be removed in pieces and requires some creativity as shown below. The siphon hose and the water feed also have to be removed before the reservoir can be removed The water tank has been seeping since I've had the car but it had gotten worse in 2017. I had tried to fix it at that time but it leaked again in 2018. I removed it again and Thomas radiator went at it, but by the fall it was leaking again. I removed the worst side, cleaned it and attempted to weld the bottom with extremely poor results. I ended up soldering the thing back together and sealing the seams with "CHEMSEAL B2 TANK SEALANT CS3204", which is extensively used in aircraft pressurized cabins and fuel cells. Instructions for use: https://www.youtube.com/watch?v=bbNqw_qqCPI The top edges were cleaned and the top soldered back on. Function of holes and tubes in the tank clockwise starting with the small hole towards the top center: sight glass. steam powered siphon, overflow, main water feed. A simple device, just make sure the ball bearing does not fall into the body and plug the passage. I was surprised with how much dirt got into it, likely leading to its extremely poor performance. The black plastic part is MDS infused nylon, turned to fit snugly in the hole. The diaphragm should seat flush on its base and the nylon valve should just touch the seat. Important: the one-way valve bearing ahead of the assembly will easily travel down the pipe and block the entry to the assembly. If the ball shows up missing during reassembly, that’s likely what happened. Pressure setting is extremely simple. Pump the handle. If you reach past 140 psi with a steady stroke, loosen the spring tensioner. If it does not build up enough, tighten it. The throttle works pretty ingeniously. Steel shaft, steel barrel and brass seat held on through a press fit with tiny roll pins. Has to be removed for disassembly and hole has to be realigned with exit hole for it to work. The 2019 rebuilt throttle with the original slide.
The slide was also made a little shorter and the steam feed pipe a little longer to allow for better clearance. The three divots have to line up with the out port.
0 Comments
Leave a Reply. |
Archives
December 2022
Categories
All
|
|
|
Steam Car Network functions as a resource for all steam car and steam bike enthusiasts. The website is constantly updated with articles, events, and informative posts to keep the community alive and growing. Feel free to contact us if you have any questions or concerns at the email address below and we will promptly reply.
[email protected] |


 RSS Feed
