|
Steam Car Network
|
|
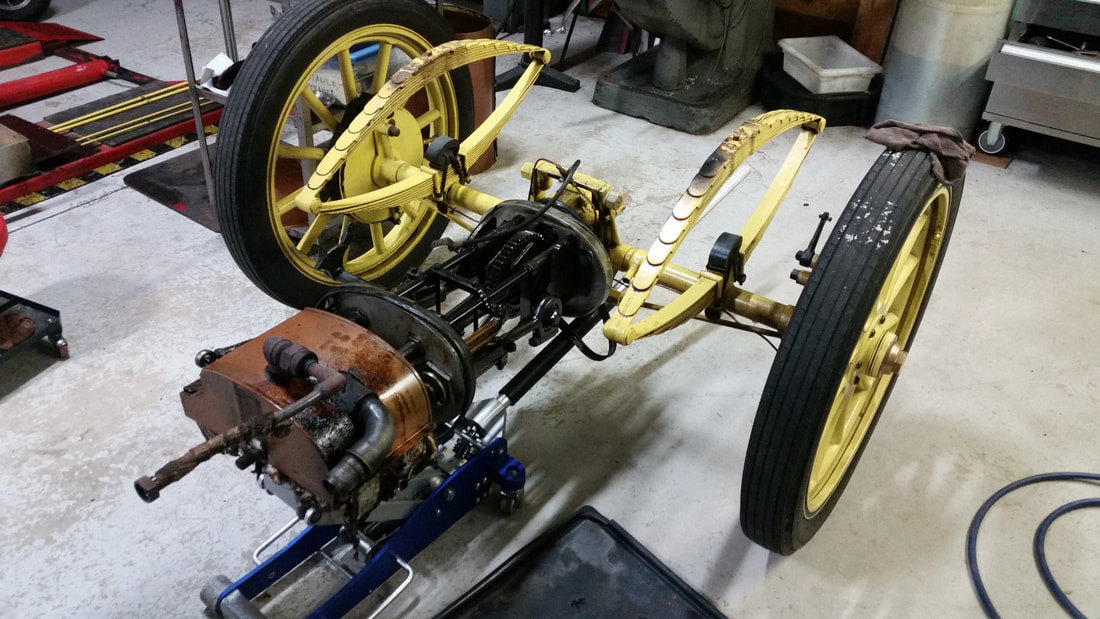
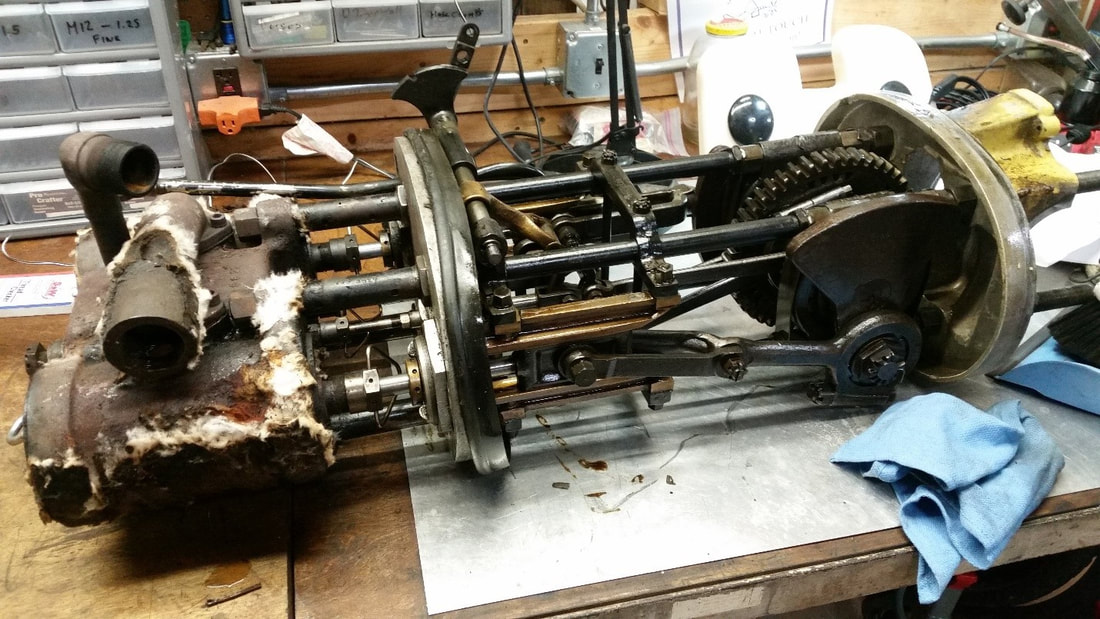
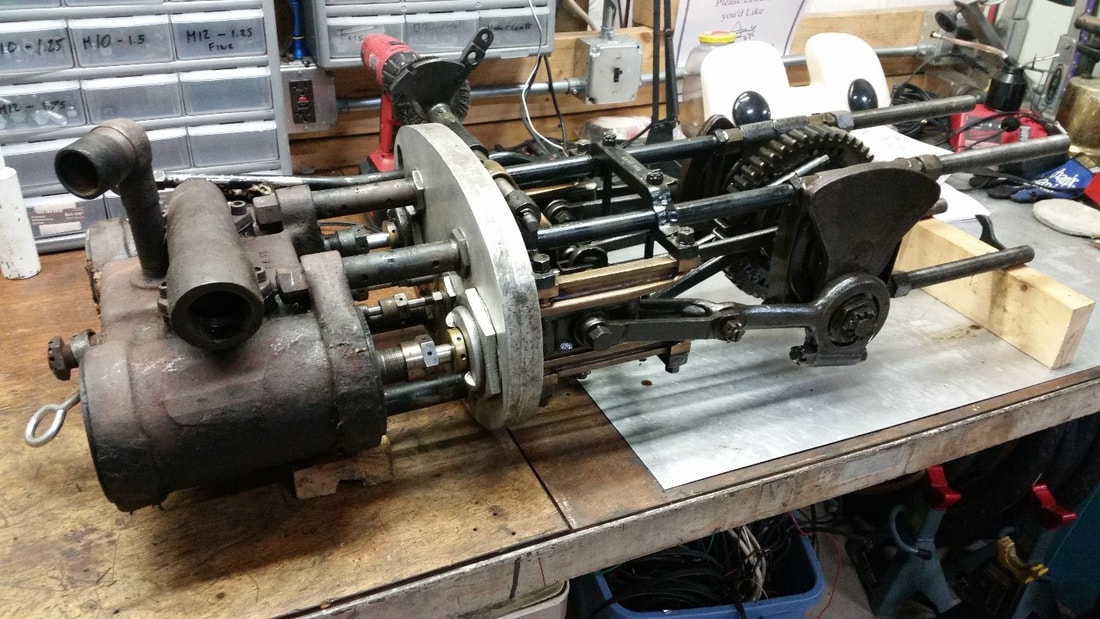
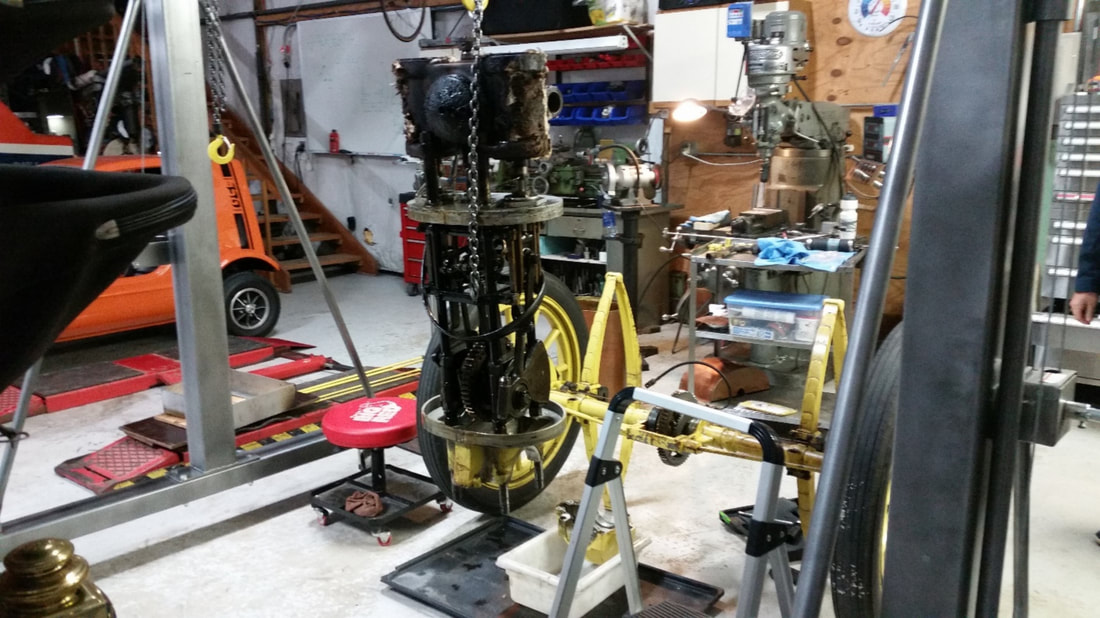
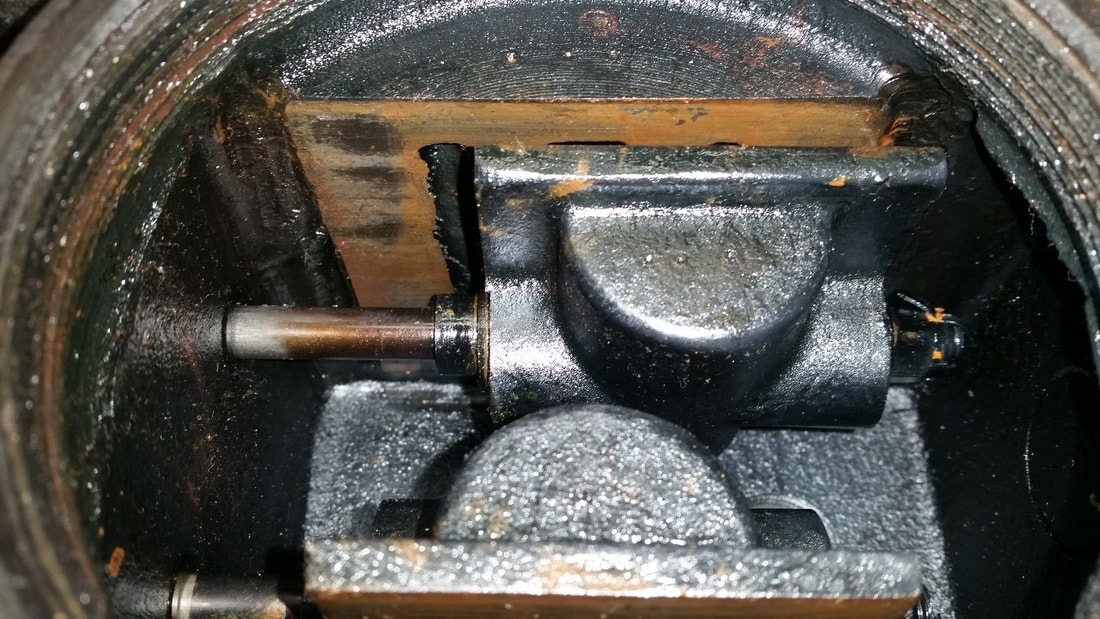
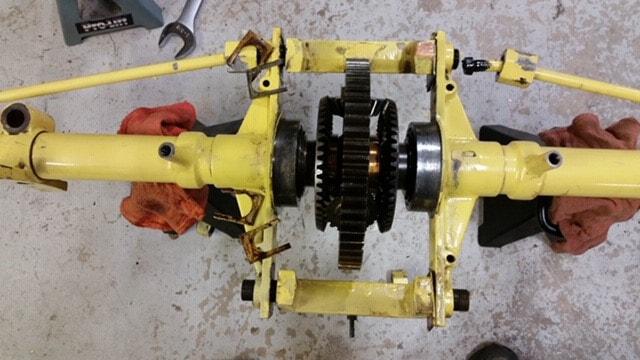
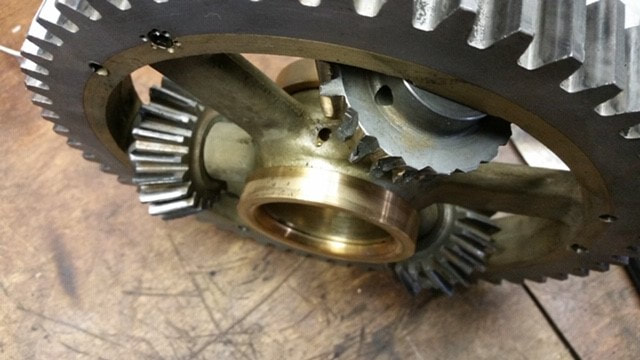
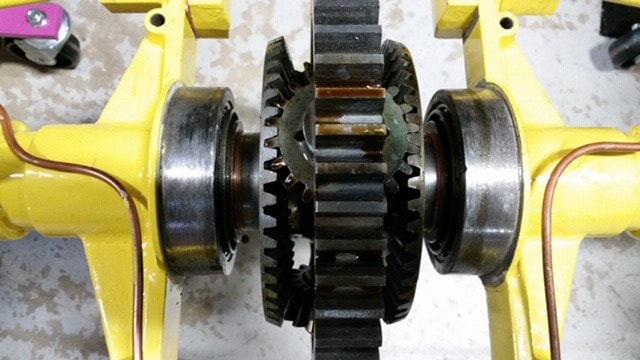
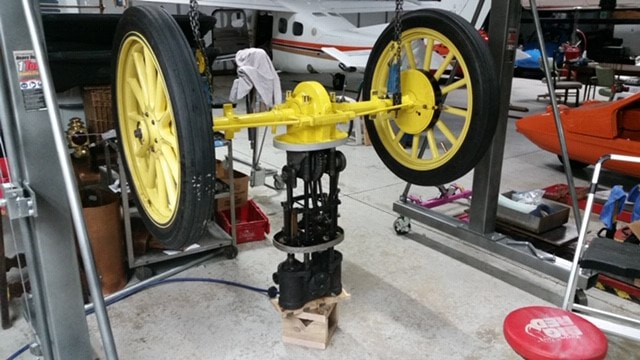
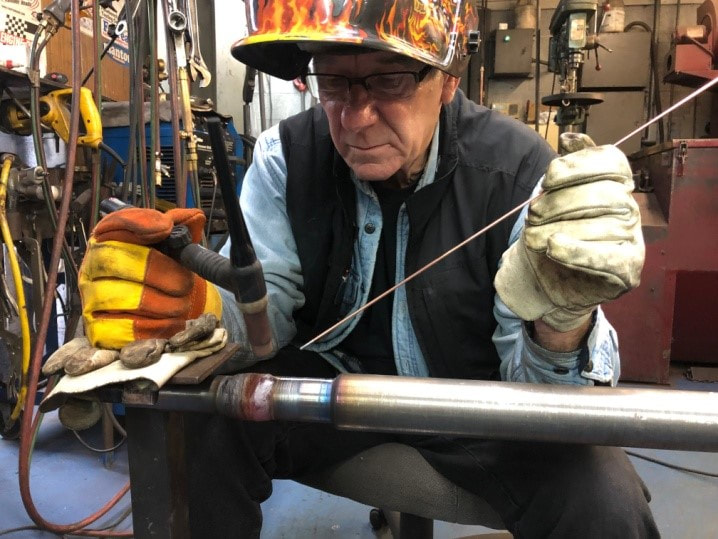
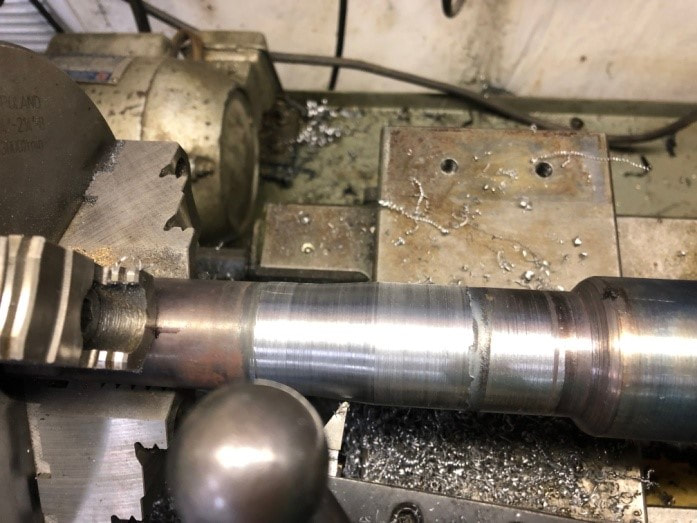
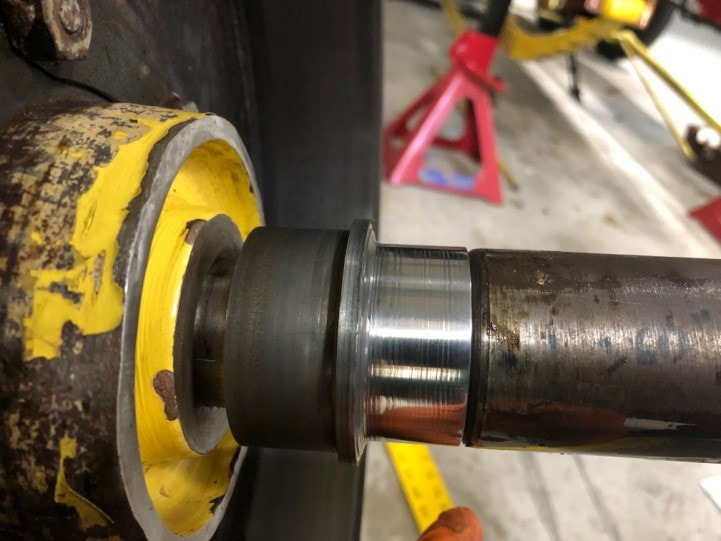
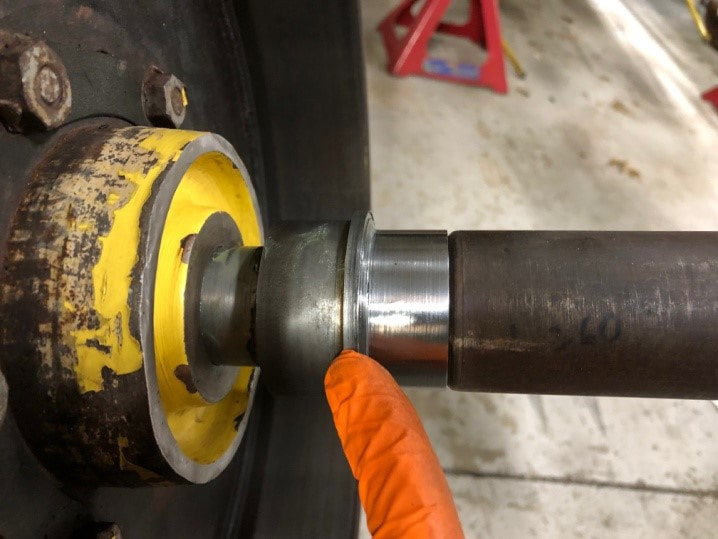
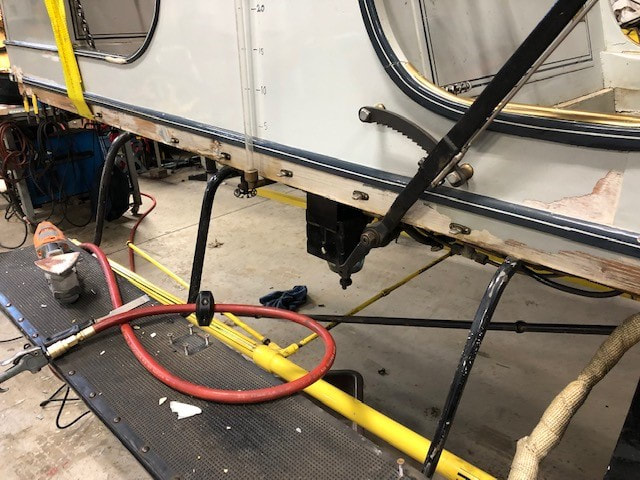
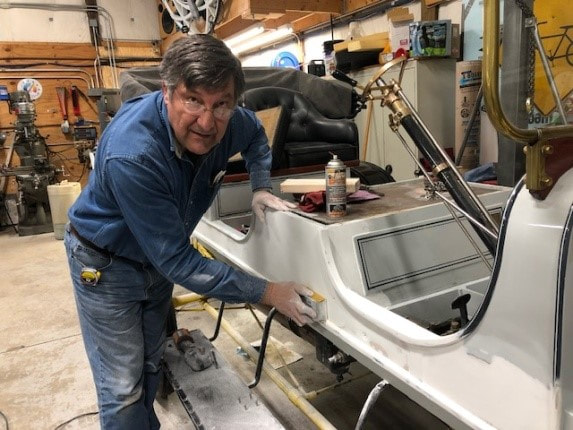
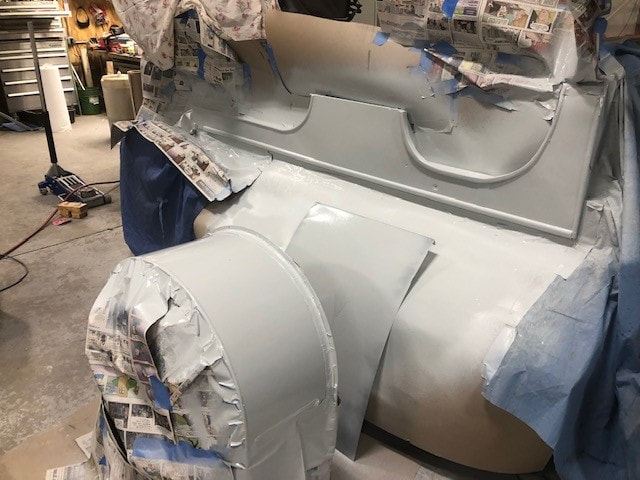
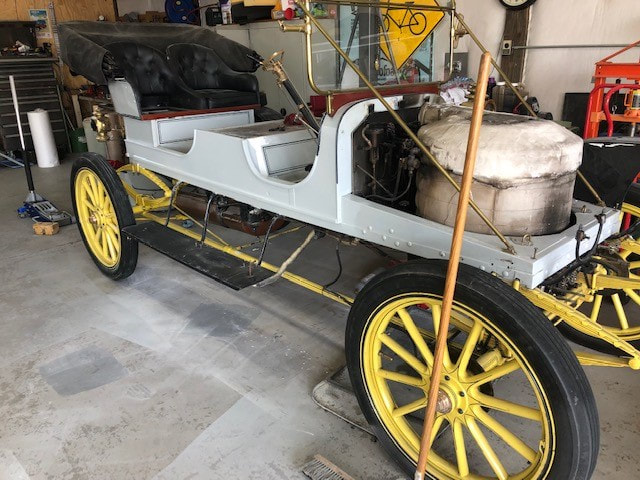
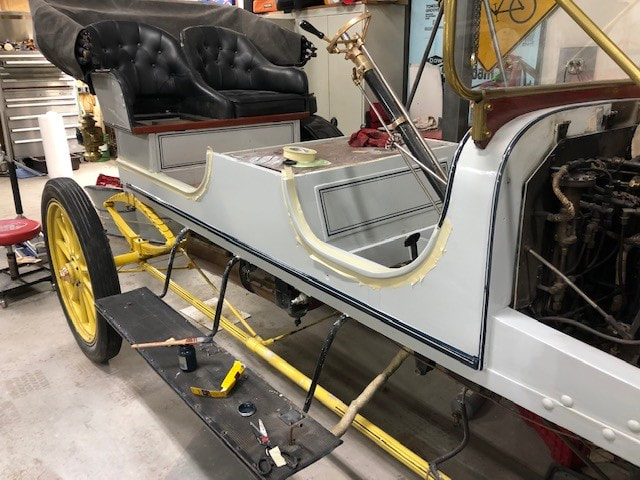
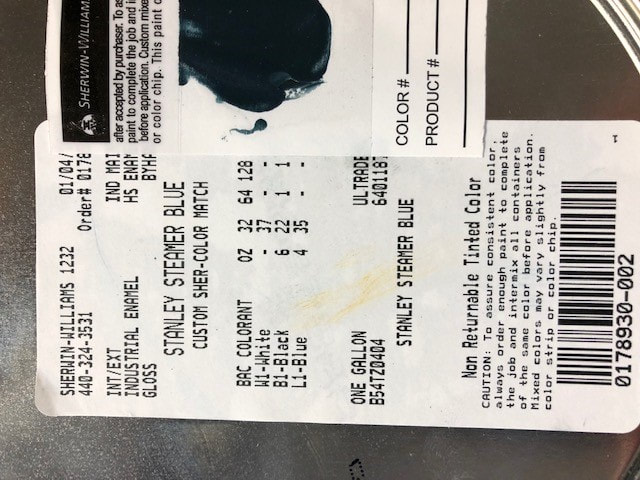
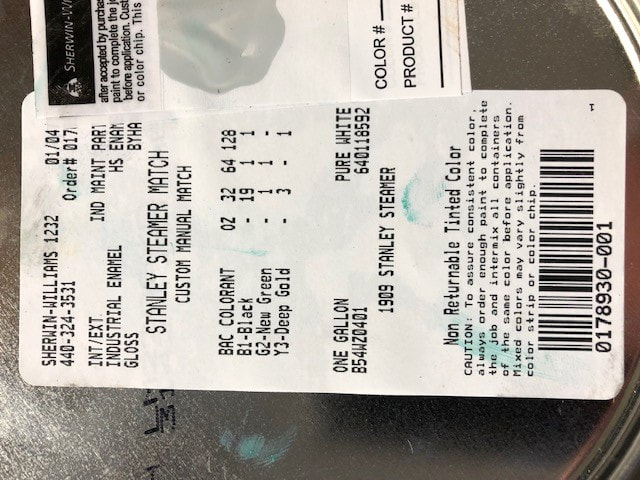
Engine Block Unscrew elbows from the engine block and remove copper covering. It will expose oil soaked insulation which needs scraping off. I made a lifting hook mounted on the back to assist in moving the engine. Valve Cover The valve cover has a hole in it for the drip valve. The pipe used to help take the unit out of the car can be used as a fulcrum to wrench the cover off. It should be so oil soaked that it should screw off easily after you get it loose. One of the ears is missing which led me to modify a pipe to use against the remaining ear. It worked fine. When reassembling, the cover has packing in the top and needs removed and replaced with a strip of 1/8” packing. The cover was replaced with a new one Don Hoke had in stock in 2019. The valve surface should be smooth and not curved. Steam pushes the valve against the block and creates a seal. Gearbox The oil level in the gearbox should be about 1 1/2 “ from the bottom while in the car. Bearings and sliding/turning surfaces should have minimal of .001-.003" clearance. It is easy to over-tighten bolts, and looser is preferred over too tight, especially with cam and crank rods. Make copper shims to space everything appropriately. Crank gear The crank gear is significant as it has a larger gear welded on top of a smaller gear. This was a fairly common practice as road conditions improved over the years allowing higher speeds and welding an existing gear over the original one was a low cost option to replacing the entire crankshaft. 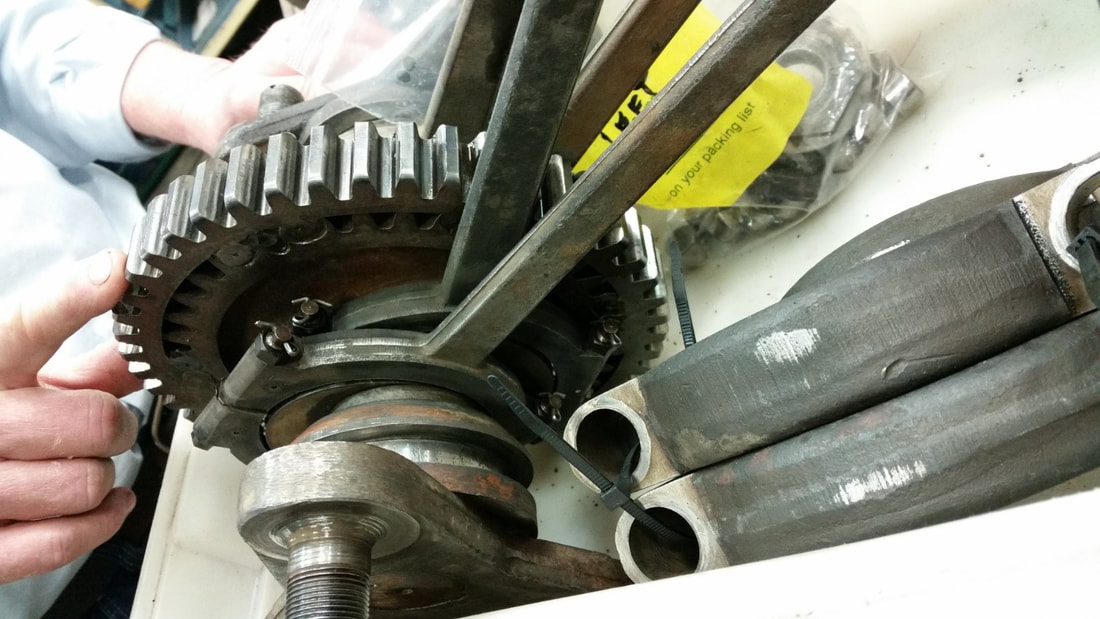 Rear Axle Differential Removing the rear wheel requires a special puller that fits in the hub. The complete axle with wheels weighs 394lbs. The main item to keep in mind is that play between the planetary gear and the spider needs to be as close to 0.001" as possible with less being more desirable than more. In the case of this car, there was so much play that the gears barely connected, resulting in catastrophic failure of all three spider gears as well as damage to the case. Adjustments to this play is achieved primarily through shims between the planetary gear and the inner bearing but also through shimming the cross members so that the case still fits over the assembly. The picture on the left shows a bit of the shims. on the right side, the housing is assembled over the differential, still allowing the axle to pivot. Axles Moving the planetary gears in ended up causing the axle to shift inwards on the rear end and the clearance between the wheel and rear-end disappeared causing the wheel to lock up on the driver's side and rub on the passenger side. In 2018, I disassembled the rear end again. Jim Wright built up the steel and I machined the end up a quarter inch further out. The Wheel is a press-fit with the nut torqued to around 200 ft/lbs on the 5deg cone splitting the 1 1/4" and 1 3/8" section. The end result is that the wheel fits better but there is no longer space for a washer under the nut on the end of the axle ,and in the case of one of the axles, a 1/16" cotter-pin hole needed to be drilled at the end of the shaft. The end result pushed the wheel out about 1/4" inch. The collar was turned and polished to accept the new oil seal from McMaster: 5154T29 (SKF 17231) for shaft 1.750" and bore 2.250". The collar is put on the axle with some gasket material. One axle has a middle diameter of 1.325" whereas the other is wider at 1.360". I did not change it. The outer bearing is a sealed unit and should not need any care. Before and After (2018) 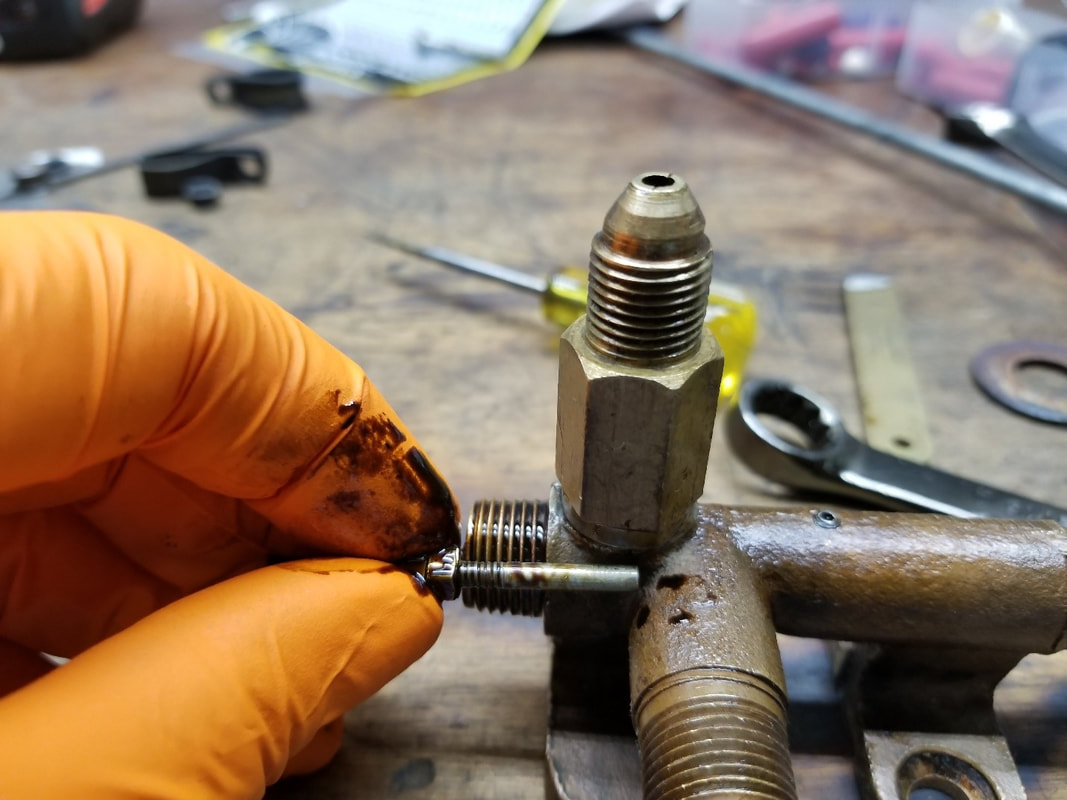 The shortest the secondary piston and metering rod can be is to a point where it gets right past the opening. This will also provide the most oil to the cylinder. 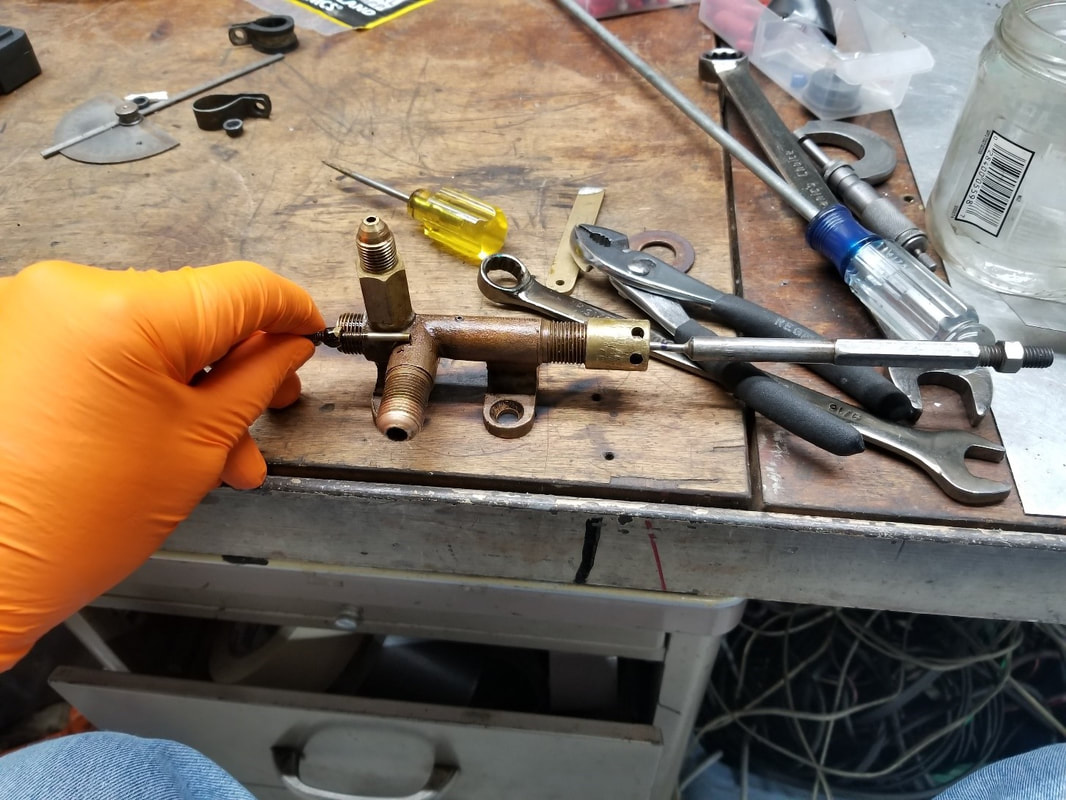 The absolute longest would be a point where it almost reaches the intake port. Very little oil will be pumped with this setting. 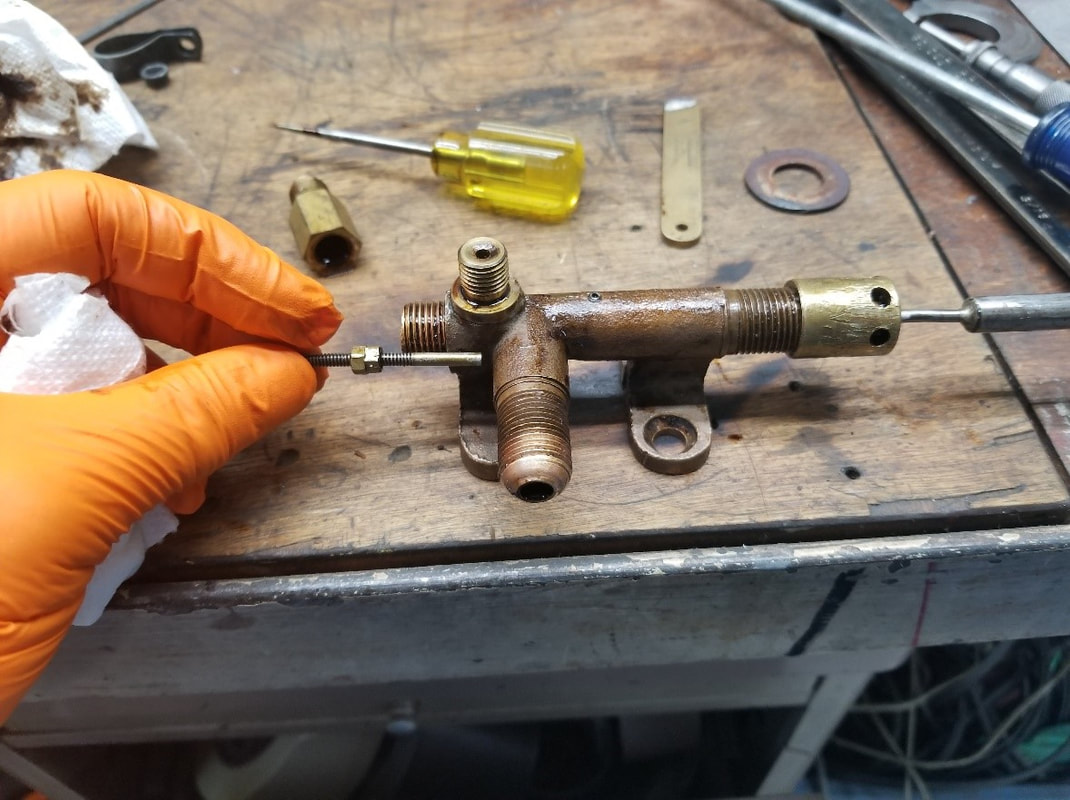 The rod is adjusted by moving the nuts in or out and then tightening them against each other. 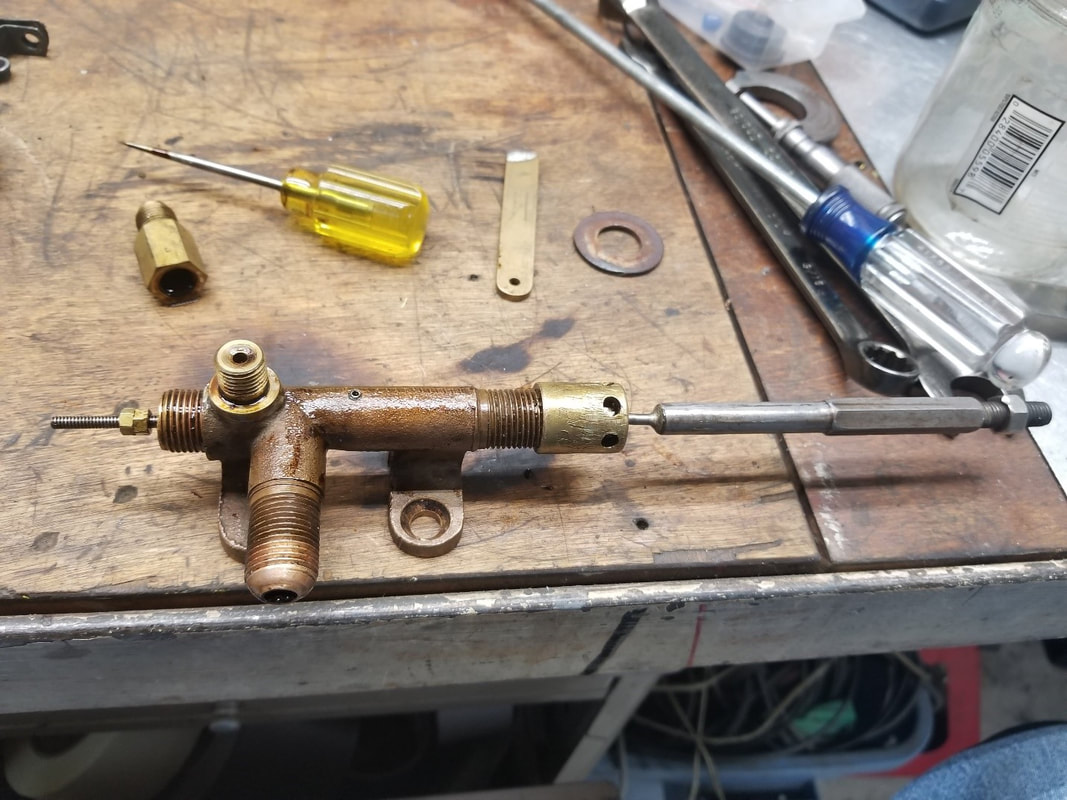 To set the limit of the primary piston, place the metering rod towards the end of the hole, push in the primary piston until the two meet and mark the spot with a marker. 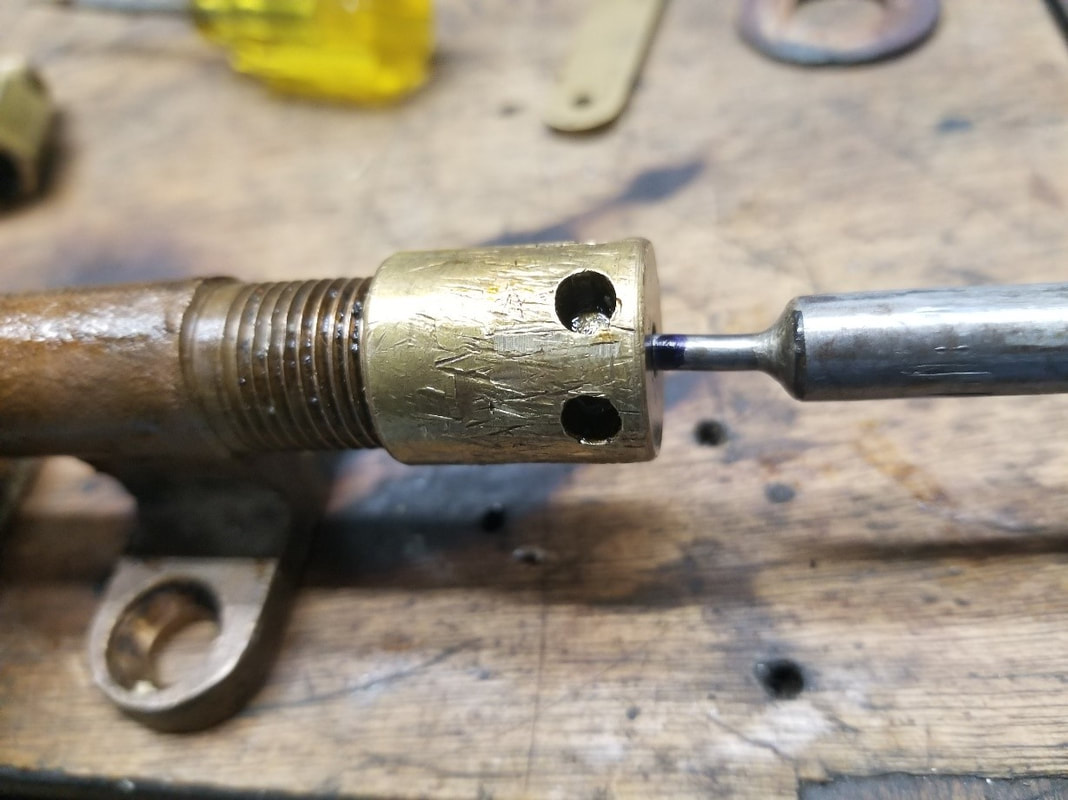 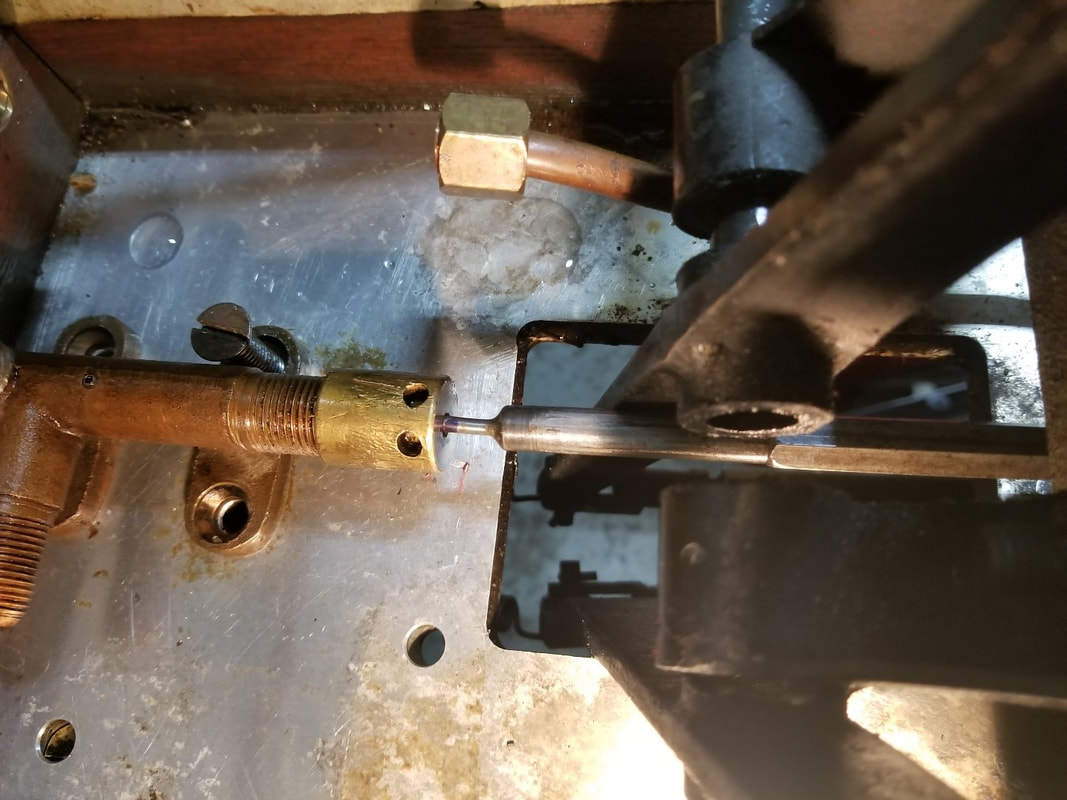 Once back in the car, screw the piston into the mount until the most forward motion reaches the mark. Brass Cleaning As There is a lot of Brass/ Copper on this car, polishing it will take a fair bit of time. Polishing very tarnished Brass/Copper is best done with a soft cloth polishing machine and red rouge for a rough clean. White rouge on a finishing cloth seems to leave a build-up and the finish does not improve. The likeliness for a Polishing machines to grab and throw parts to the ground at great velocity is directly proportional to their fragility and replacement cost. Polish The best way I have found to clean by hand is through the Wizards product line. A buddy introduced me to Wizards Metal Polish, which is an impregnated piece of cotton. It worked well but not nearly as well as when I added Wizards Metal Renew to it. Other products tried were : Mothers Billet Cleaner (Good) Brasso (Poor) Most products sold at flea markets and products like Oxy-clean have found their way into the trash bin. Saving the shine As of 2019, I have not found a suitable product that works. I stayed with Wizards Metal sealant as it came in a package with the other Wizards Products. It seems to help a little. Eastwood has a product in a spray can that almost looks like a clear coat. Neither really kept the Brass from turning yellow and the Eastwood product required the buffing wheel to remove it. Paint By the end of 2018 the paint started coming off sections of the car in sheets. On other parts like the hood and the front, there was a lot of burn damage. For a short time, I considered stripping the car down completely and have it repainted professionally, but veered away from that as the vehicle is getting a lot of use and the time it would take to do so would probably turn into a full restoration: as well as the slim chance of a fine pint job remaining that way for any length of time lead me to search for an alternative Gloss paint that would be durable. I eventually settled on Sherwin Williams Industrial Enamel. My Neighbour Arthur helped with prep and paint of the large flat section, as I did not want brush marks. The hood is a combination of prep styles as well as some brushing and some spraying. The paint on the side was in very poor shape, and was not sticking to the wood at all. The passenger side seemed to be less affected by it. Early attempts included trials with and without primer as well as brushing VS spraying. Arthur was of great help here. Eventually, we settled on a sand-able primer and spraying the enamel after making sure the primer was smooth. The gloss is not nearly what I would expect from automotive paint but I will try wet sanding it next winter. It takes a long time to dry. The dark blue stripe with the 1/8" light blue stripe within was achieved by putting a 1/8" piece of masking tape and paint the dark blue over it. I found that this paint came out very well if the masking tape was removed immediately after painting, as it allowed the paint to flow. Multiple coats of enamel tend to cause it to crinkle, probably since it takes so long for this paint to dry. Resources Steam Oil: Siphon-a-min 1000 Brennan oil 970-247-3054 Machining of complex parts: Rempco 231-775-0108 Boiler repair: Don Bourdon (802) 457-3787 Tank Sealer: CHEMSEAL B2 TANK SEALANT CS3204 Brass: Wizards 3004.2982 11011 Metal Polish. Wizards Metal Renew_Silver Polish, Aluminum Car Care, Motorcycle Copper Cleaner. Wizards 11021 Power Seal Metal Sealant. 
0 Comments
Leave a Reply. |
Archives
December 2022
Categories
All
|


 RSS Feed